Features covered
- Level 1 – Automatic rollout (Rollout Policy) (available in all plans)
- Level 2 – Manual rollout with SQL Review (available in all plans)
- Level 3 – Custom Approval (available in Enterprise)
Preparation
-
Ensure Docker is running, then start the Bytebase container:

-
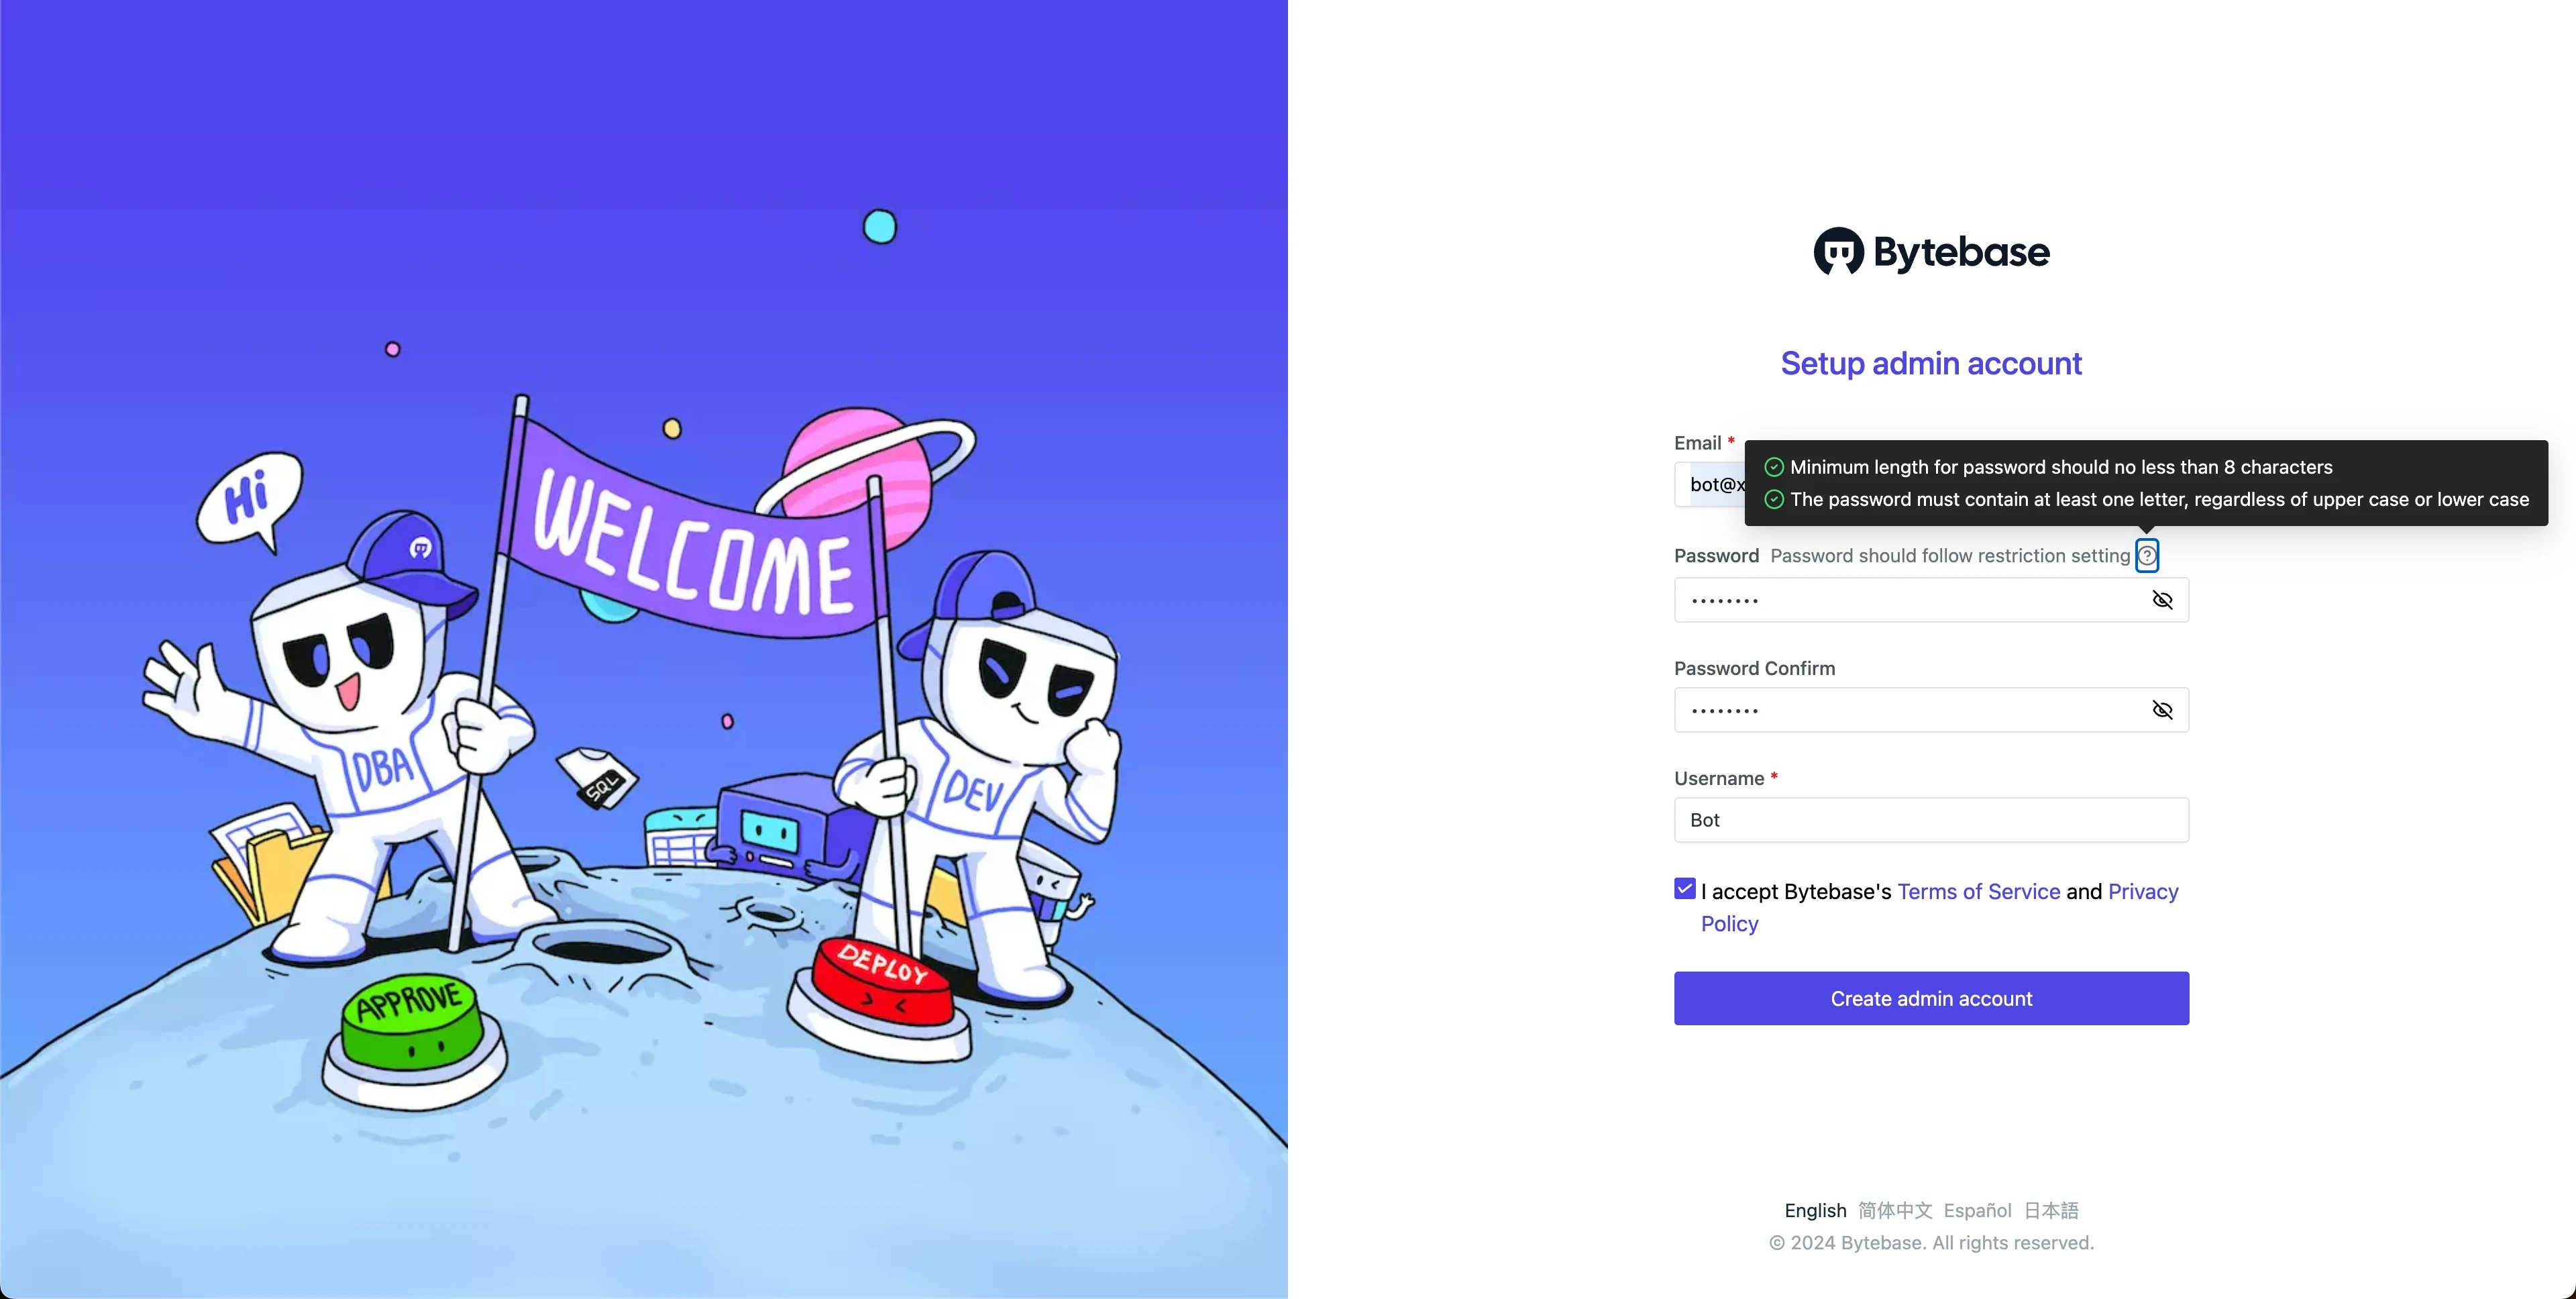
Open Bytebase in localhost:8080, fill in the fields and click Create admin account. You’ll be redirected to Workspace.
-
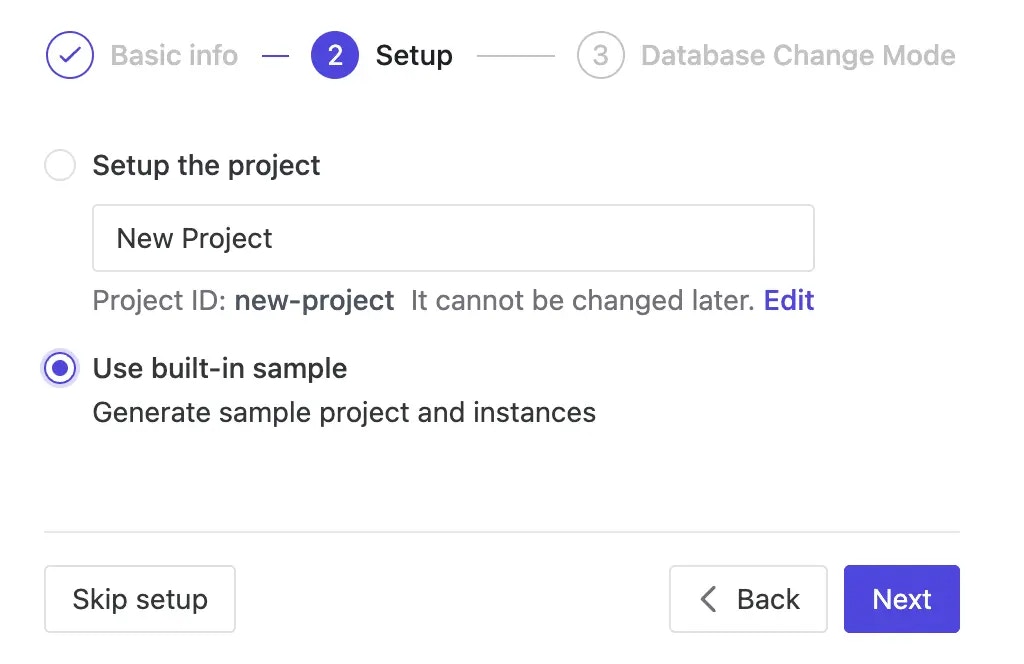
During workspace setup, choose the built-in sample data.
Level 1: Automatic rollout in the Test environment (All plans)
-
In Workspace, go to Environments > Test, and check
Automaticunder the Rollout policy. -
From the top-left project switcher, select
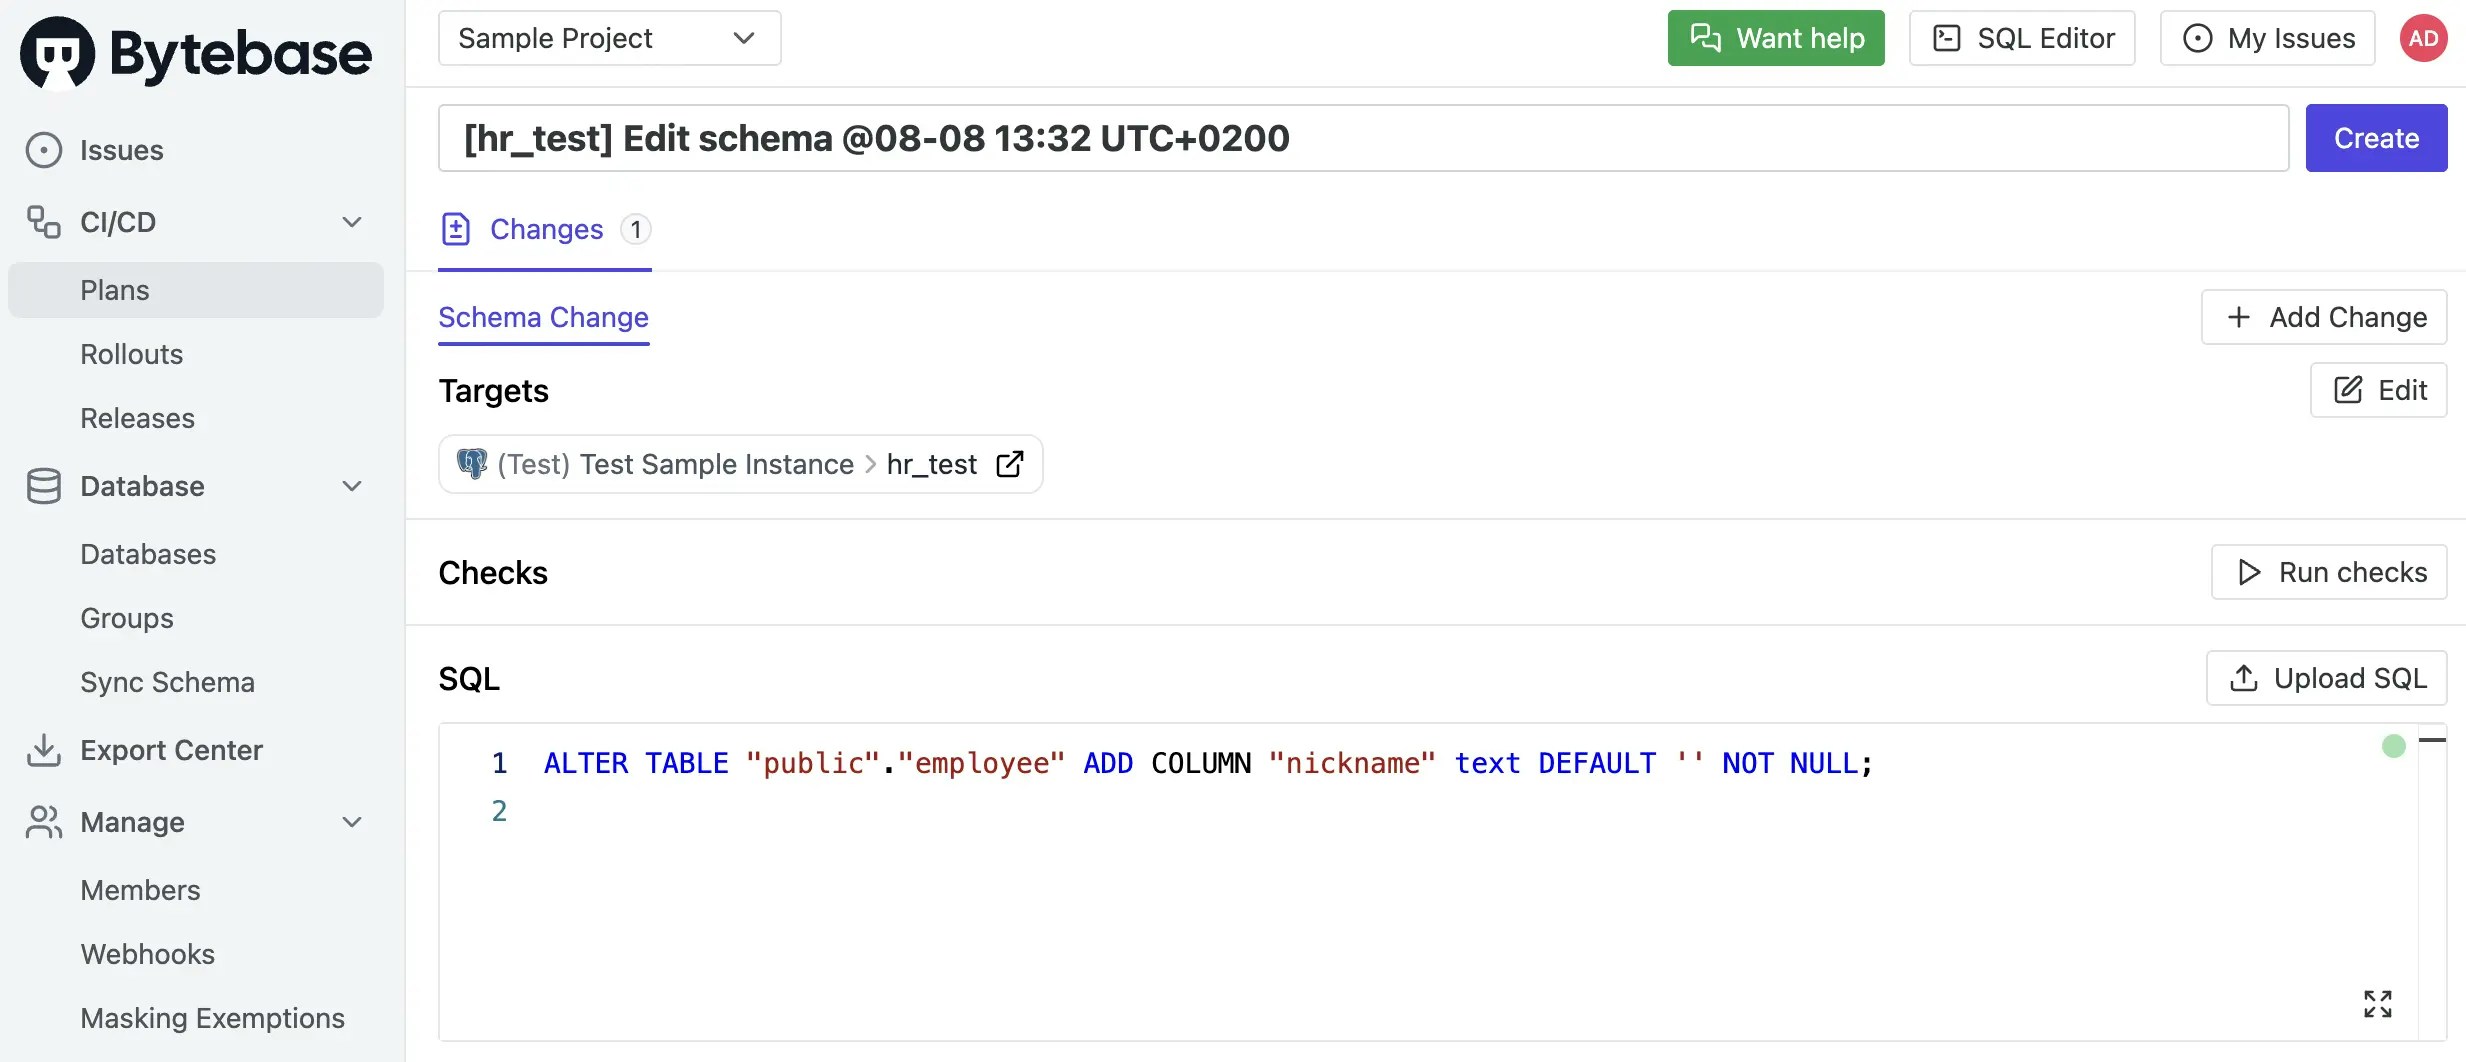
Sample Project. Under the CI/CD section, click Plans, then + New Plan. ChooseSchema Migration (DDL)and select thehr_testdatabase.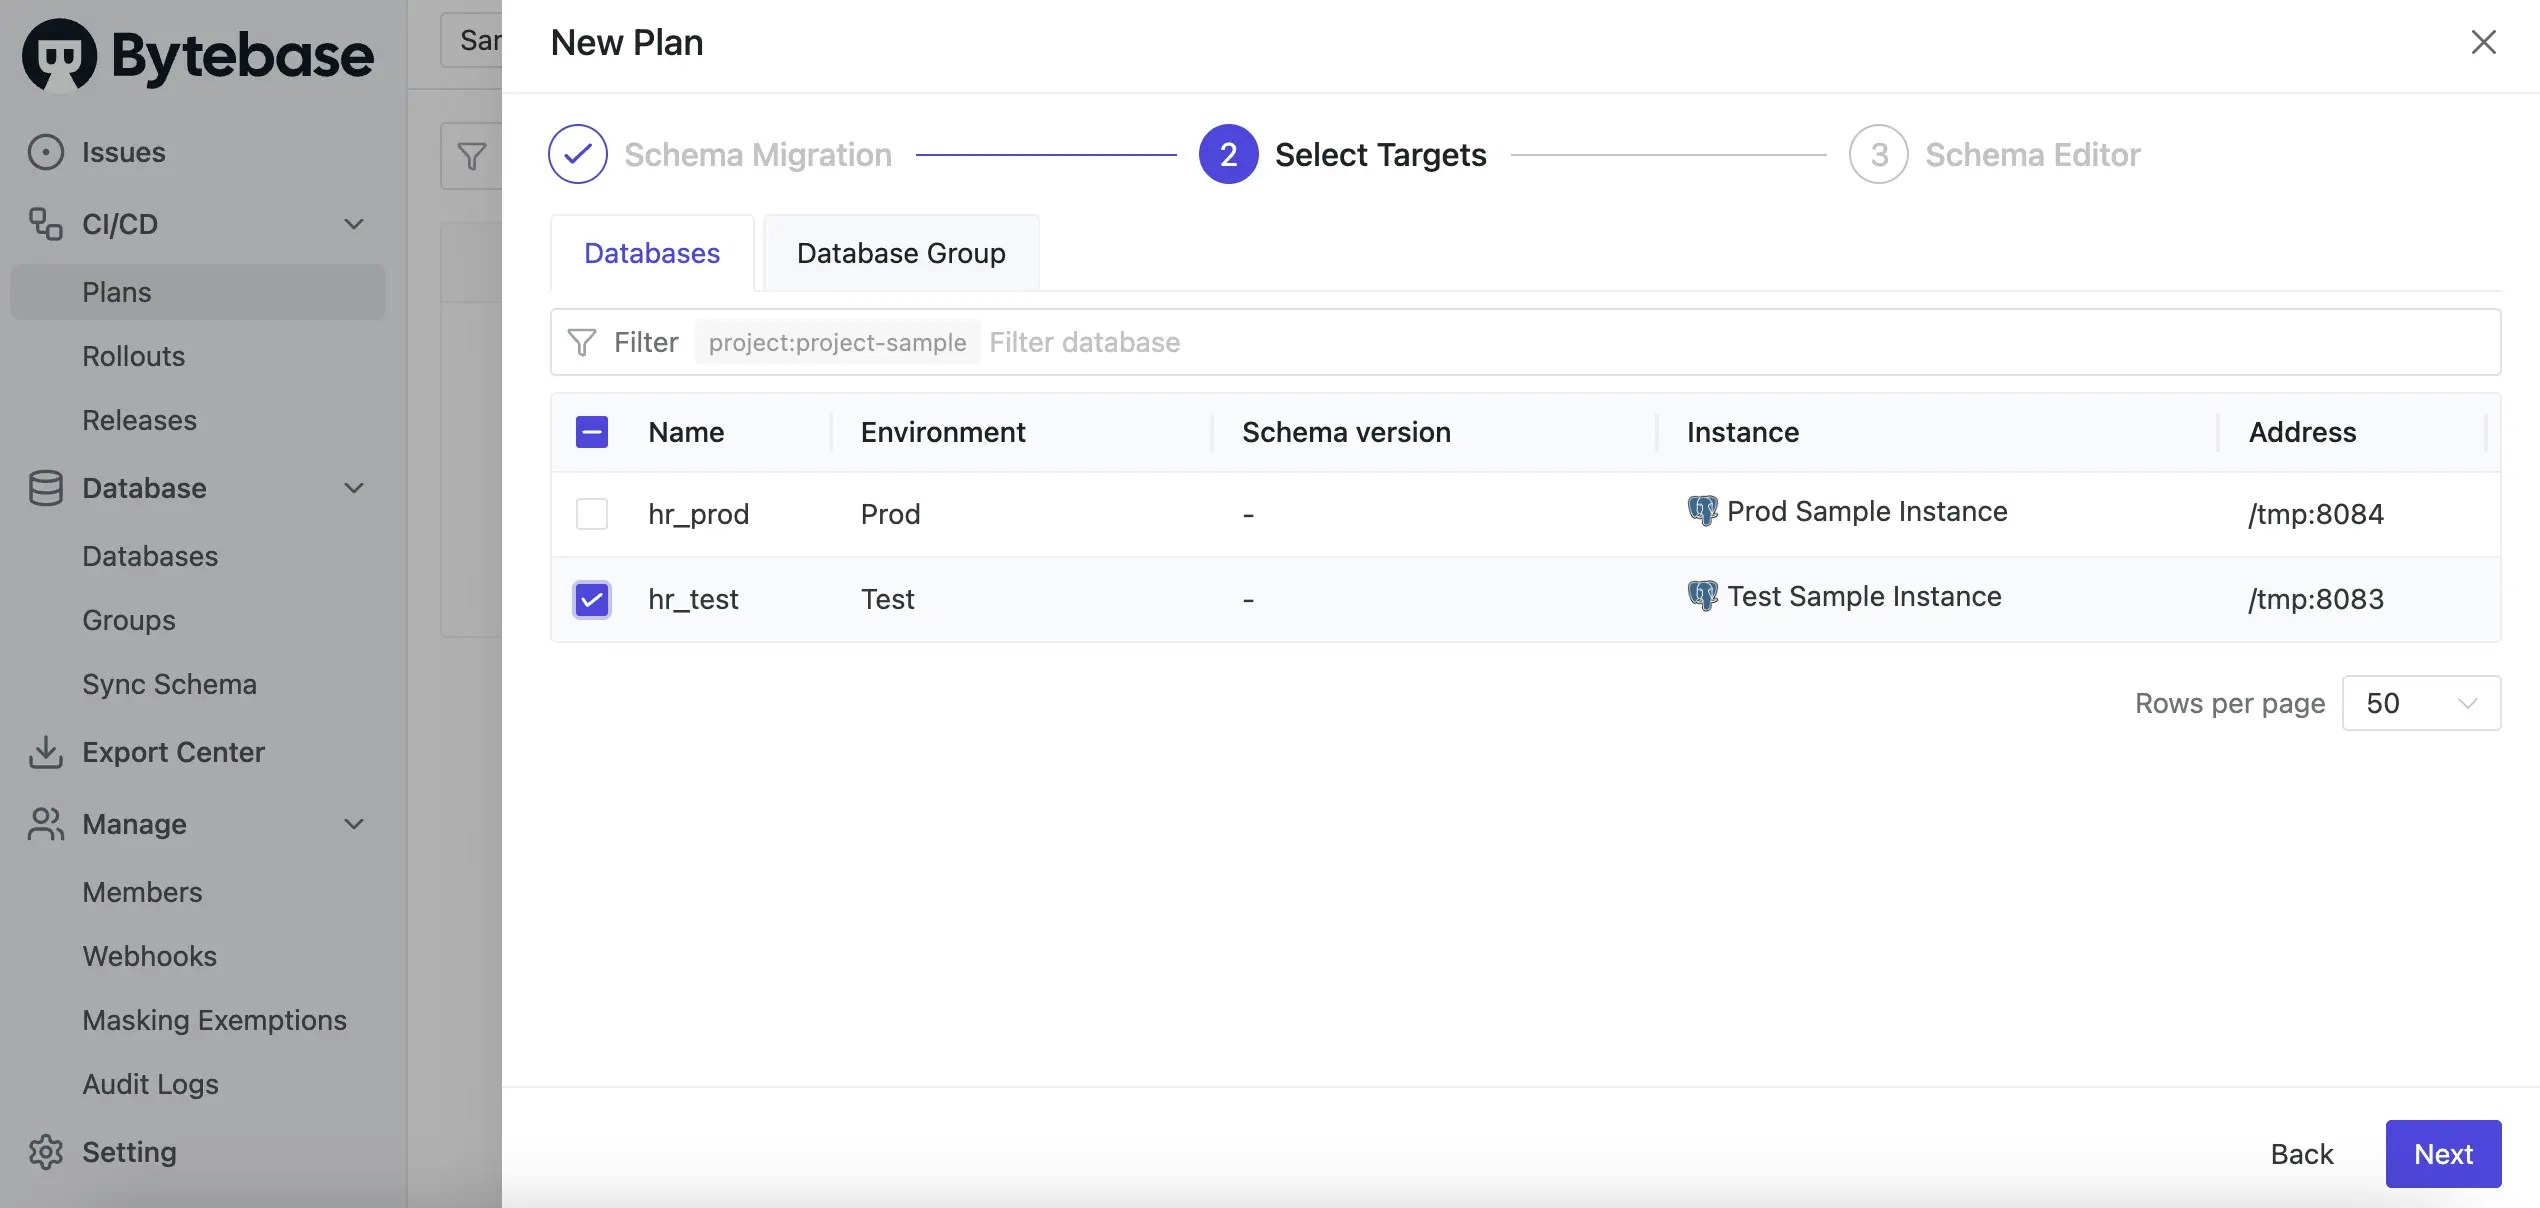
-
Using the Schema Editor, add a new column
nicknameto theemployeetable and click Confirm.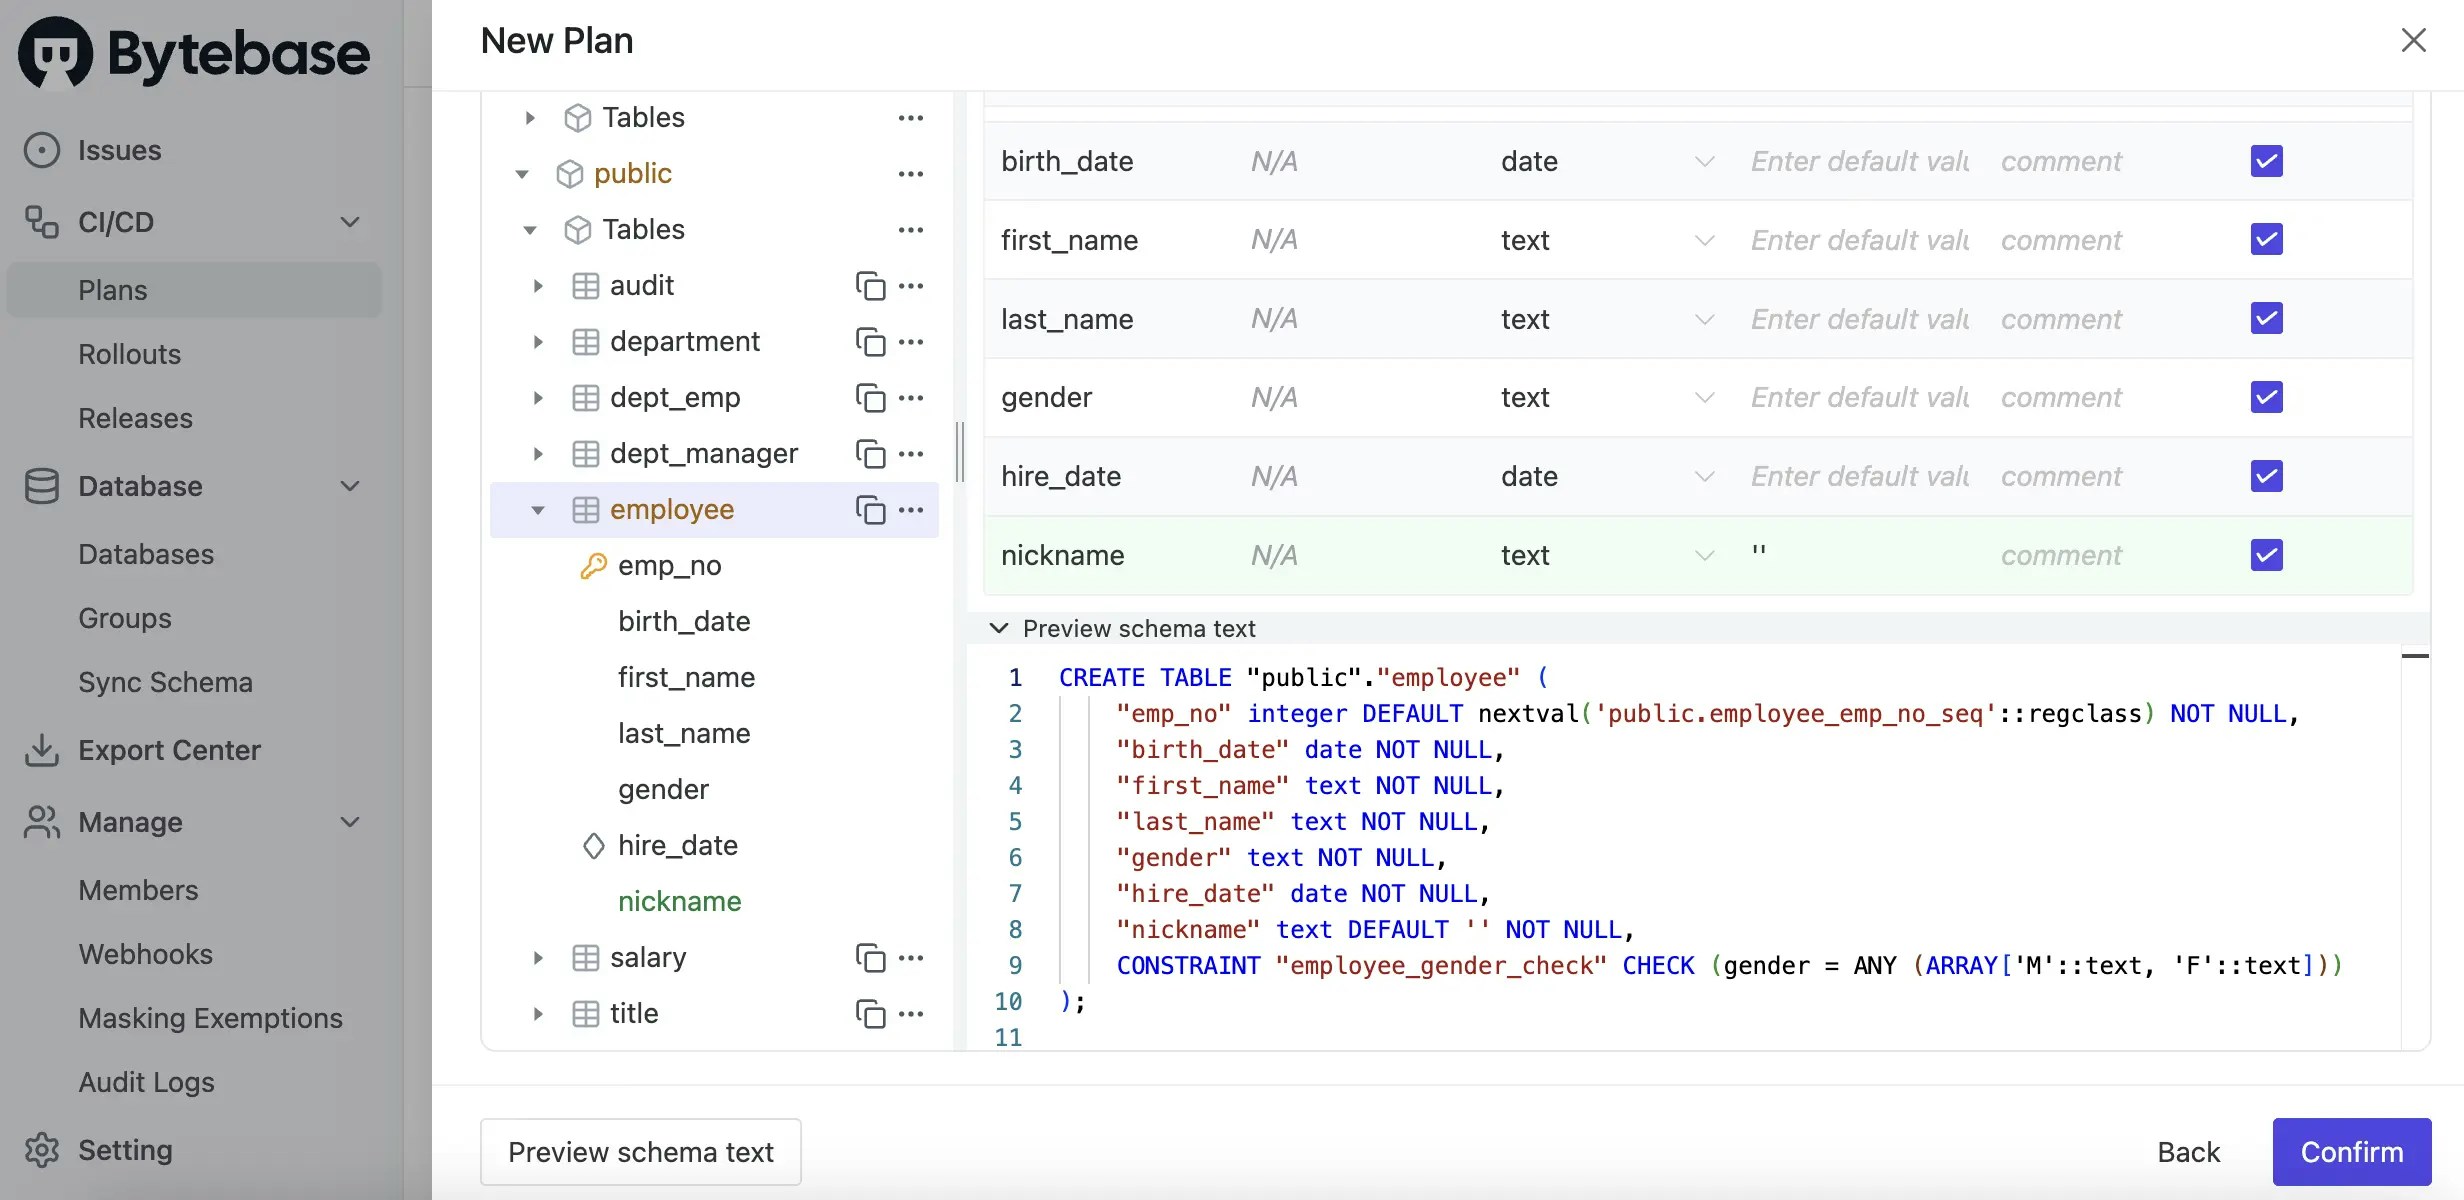
-
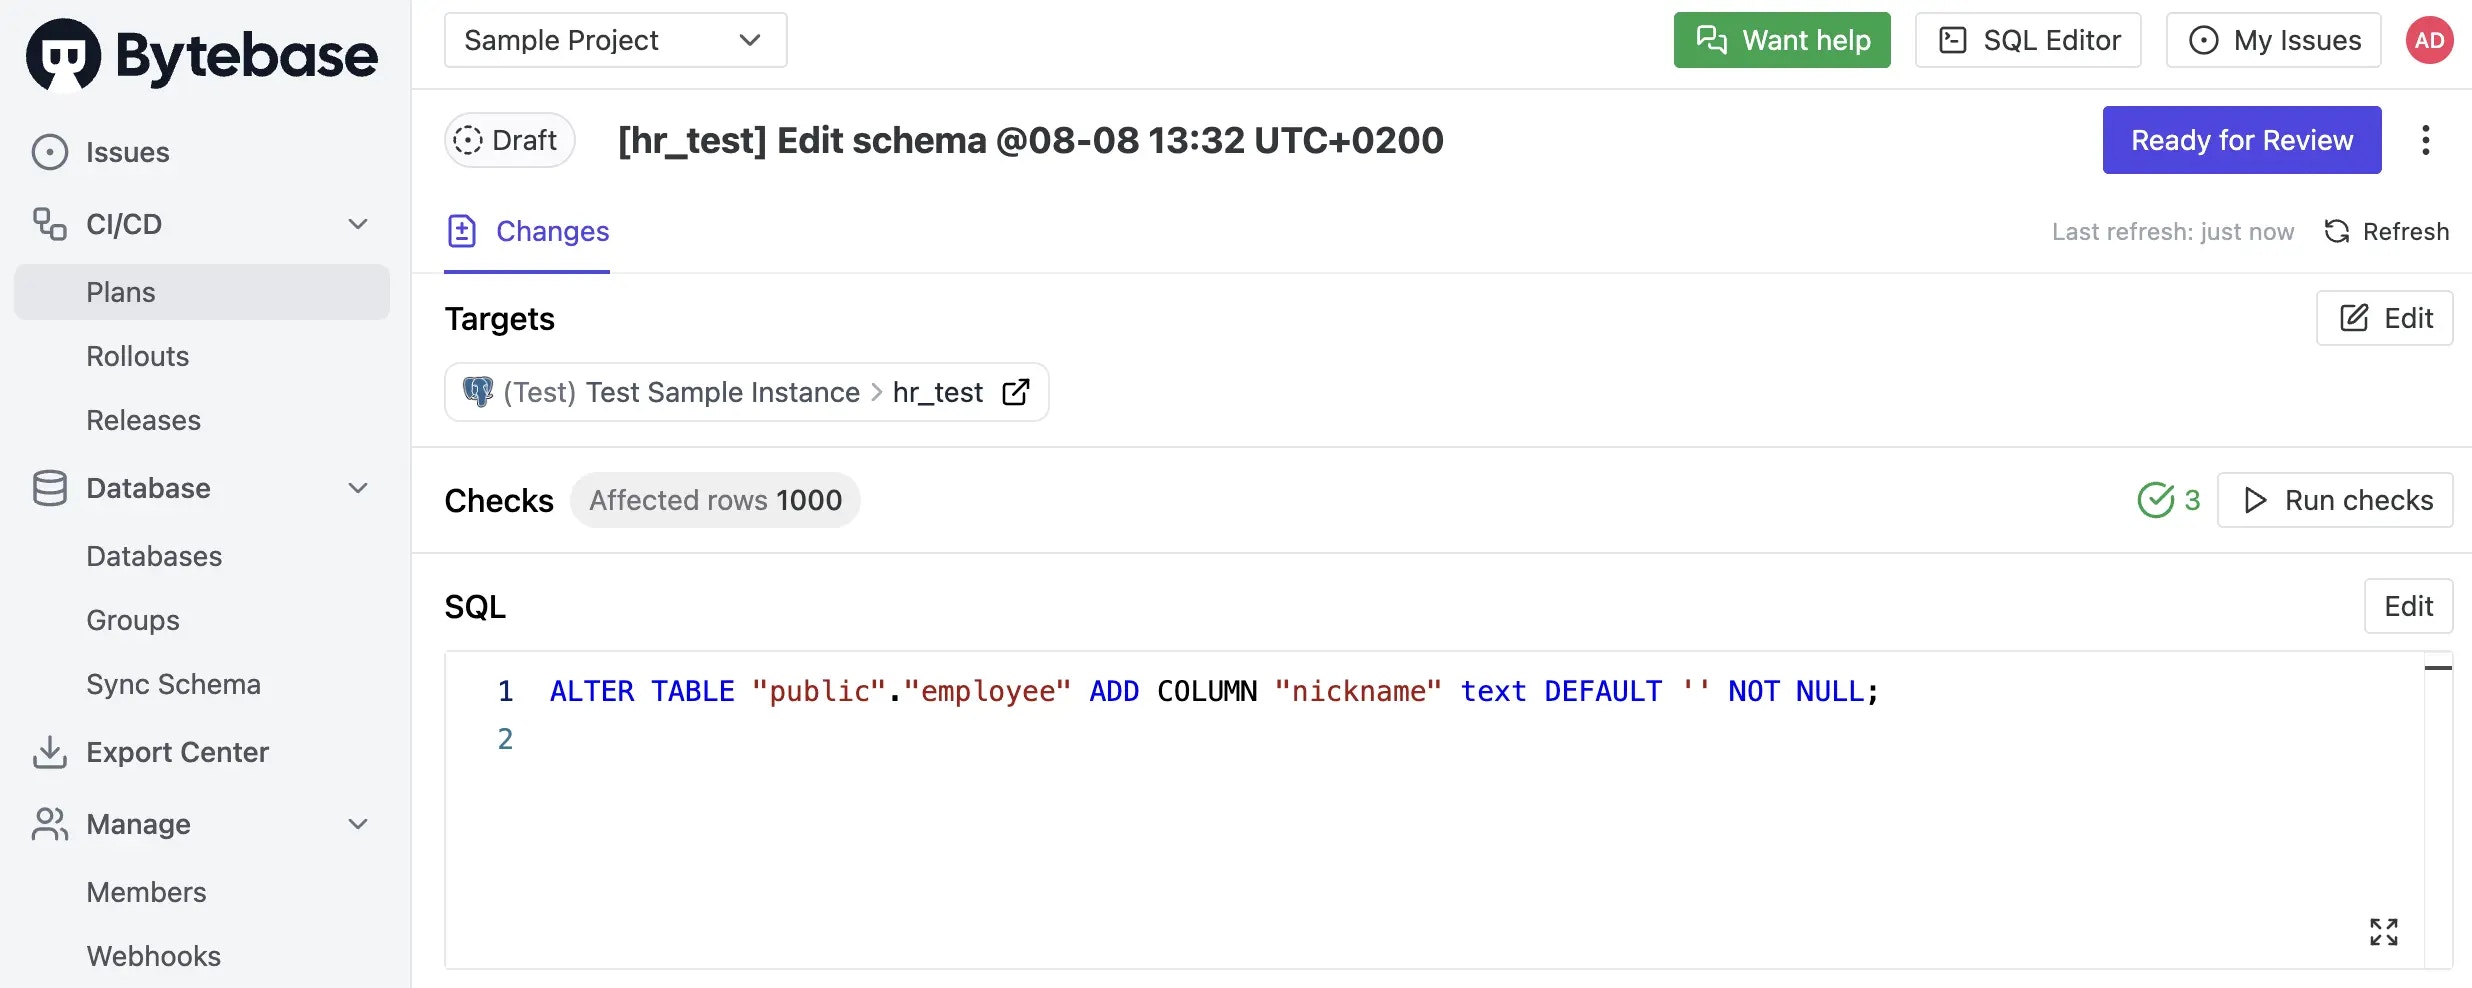
Click Create, then click Ready for Review.
-
The rollout executes automatically to the
Testenvironment. The issue is marked asDone.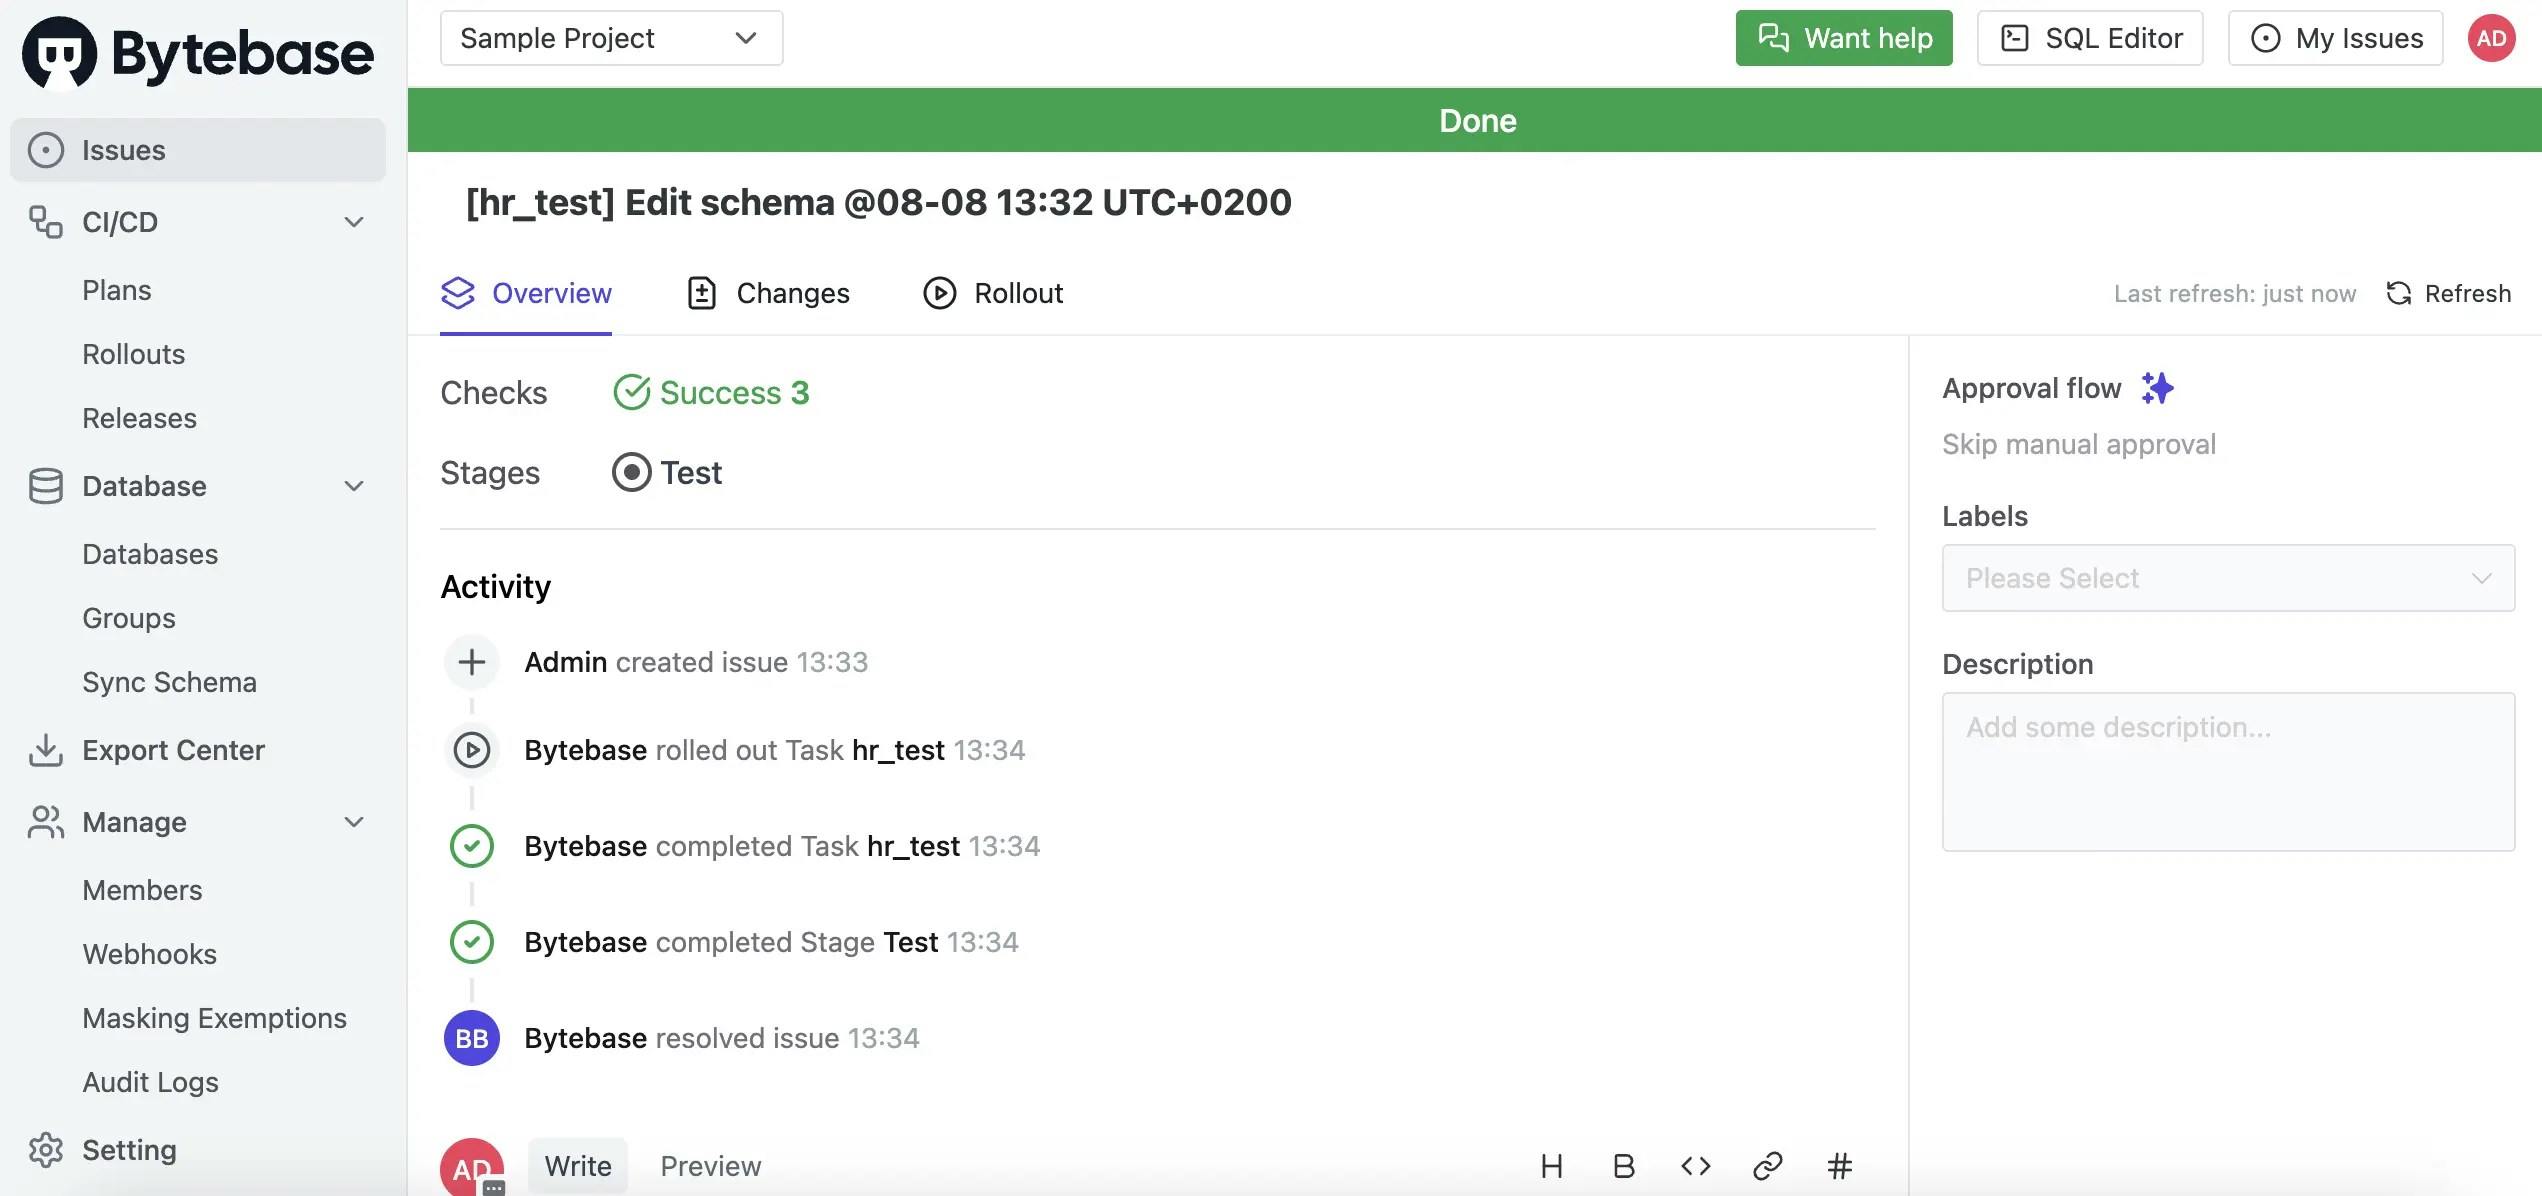
Level 2: Manual rollout with SQL Review (All plans)
-
In Workspace, go to Environments > Prod. Leave the
Automaticunchecked under the Rollout policy. Keep the default setting without changing, it’sRequire Issue ApprovalandPlan Check Enforcement>Block on Errors Only.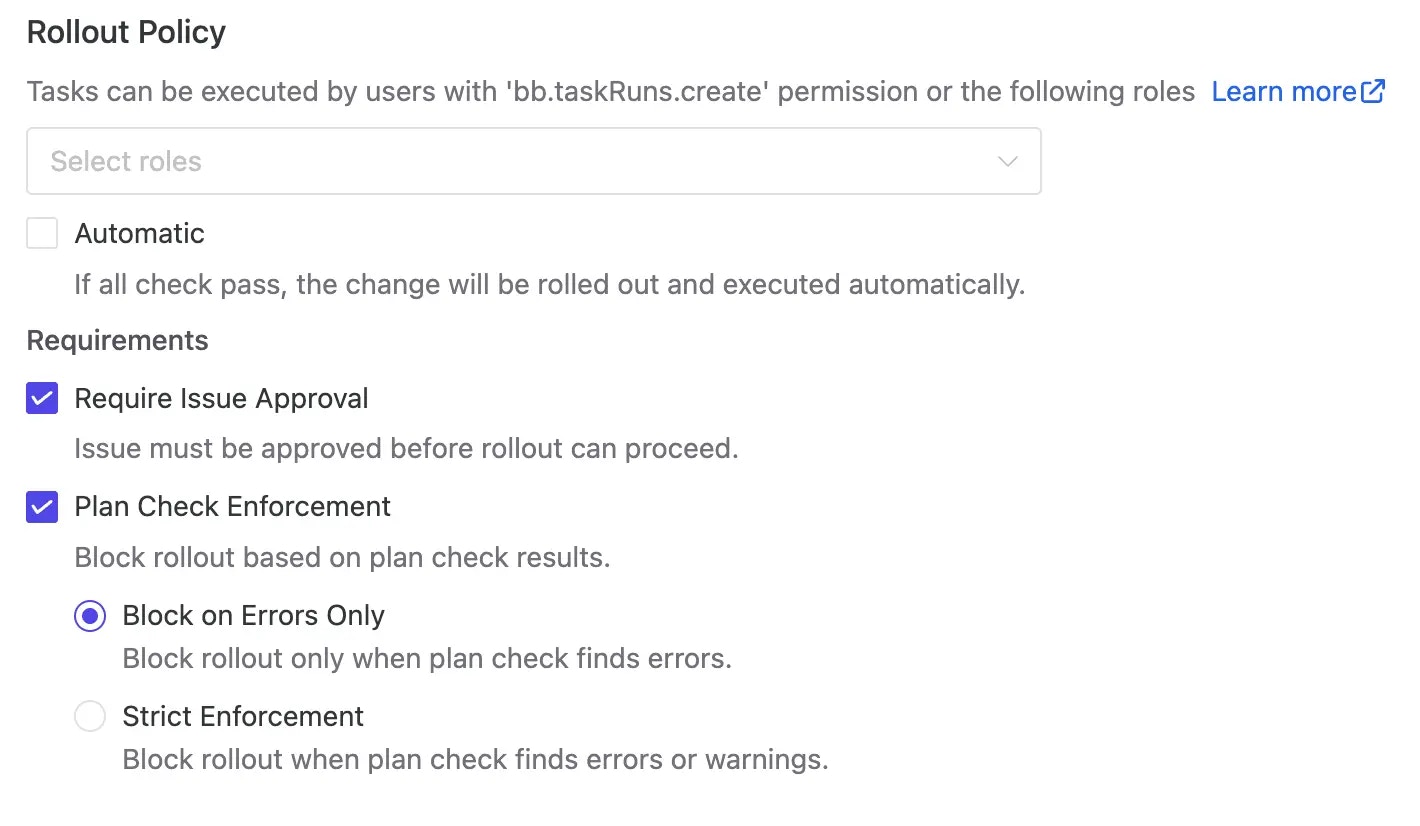
-
We’ll add an SQL Review policy to the
Prodenvironment. Click SQL Review Policy to open SQL Review under the Environment > Prod. Select theSample Template, which has 20 enabled rules.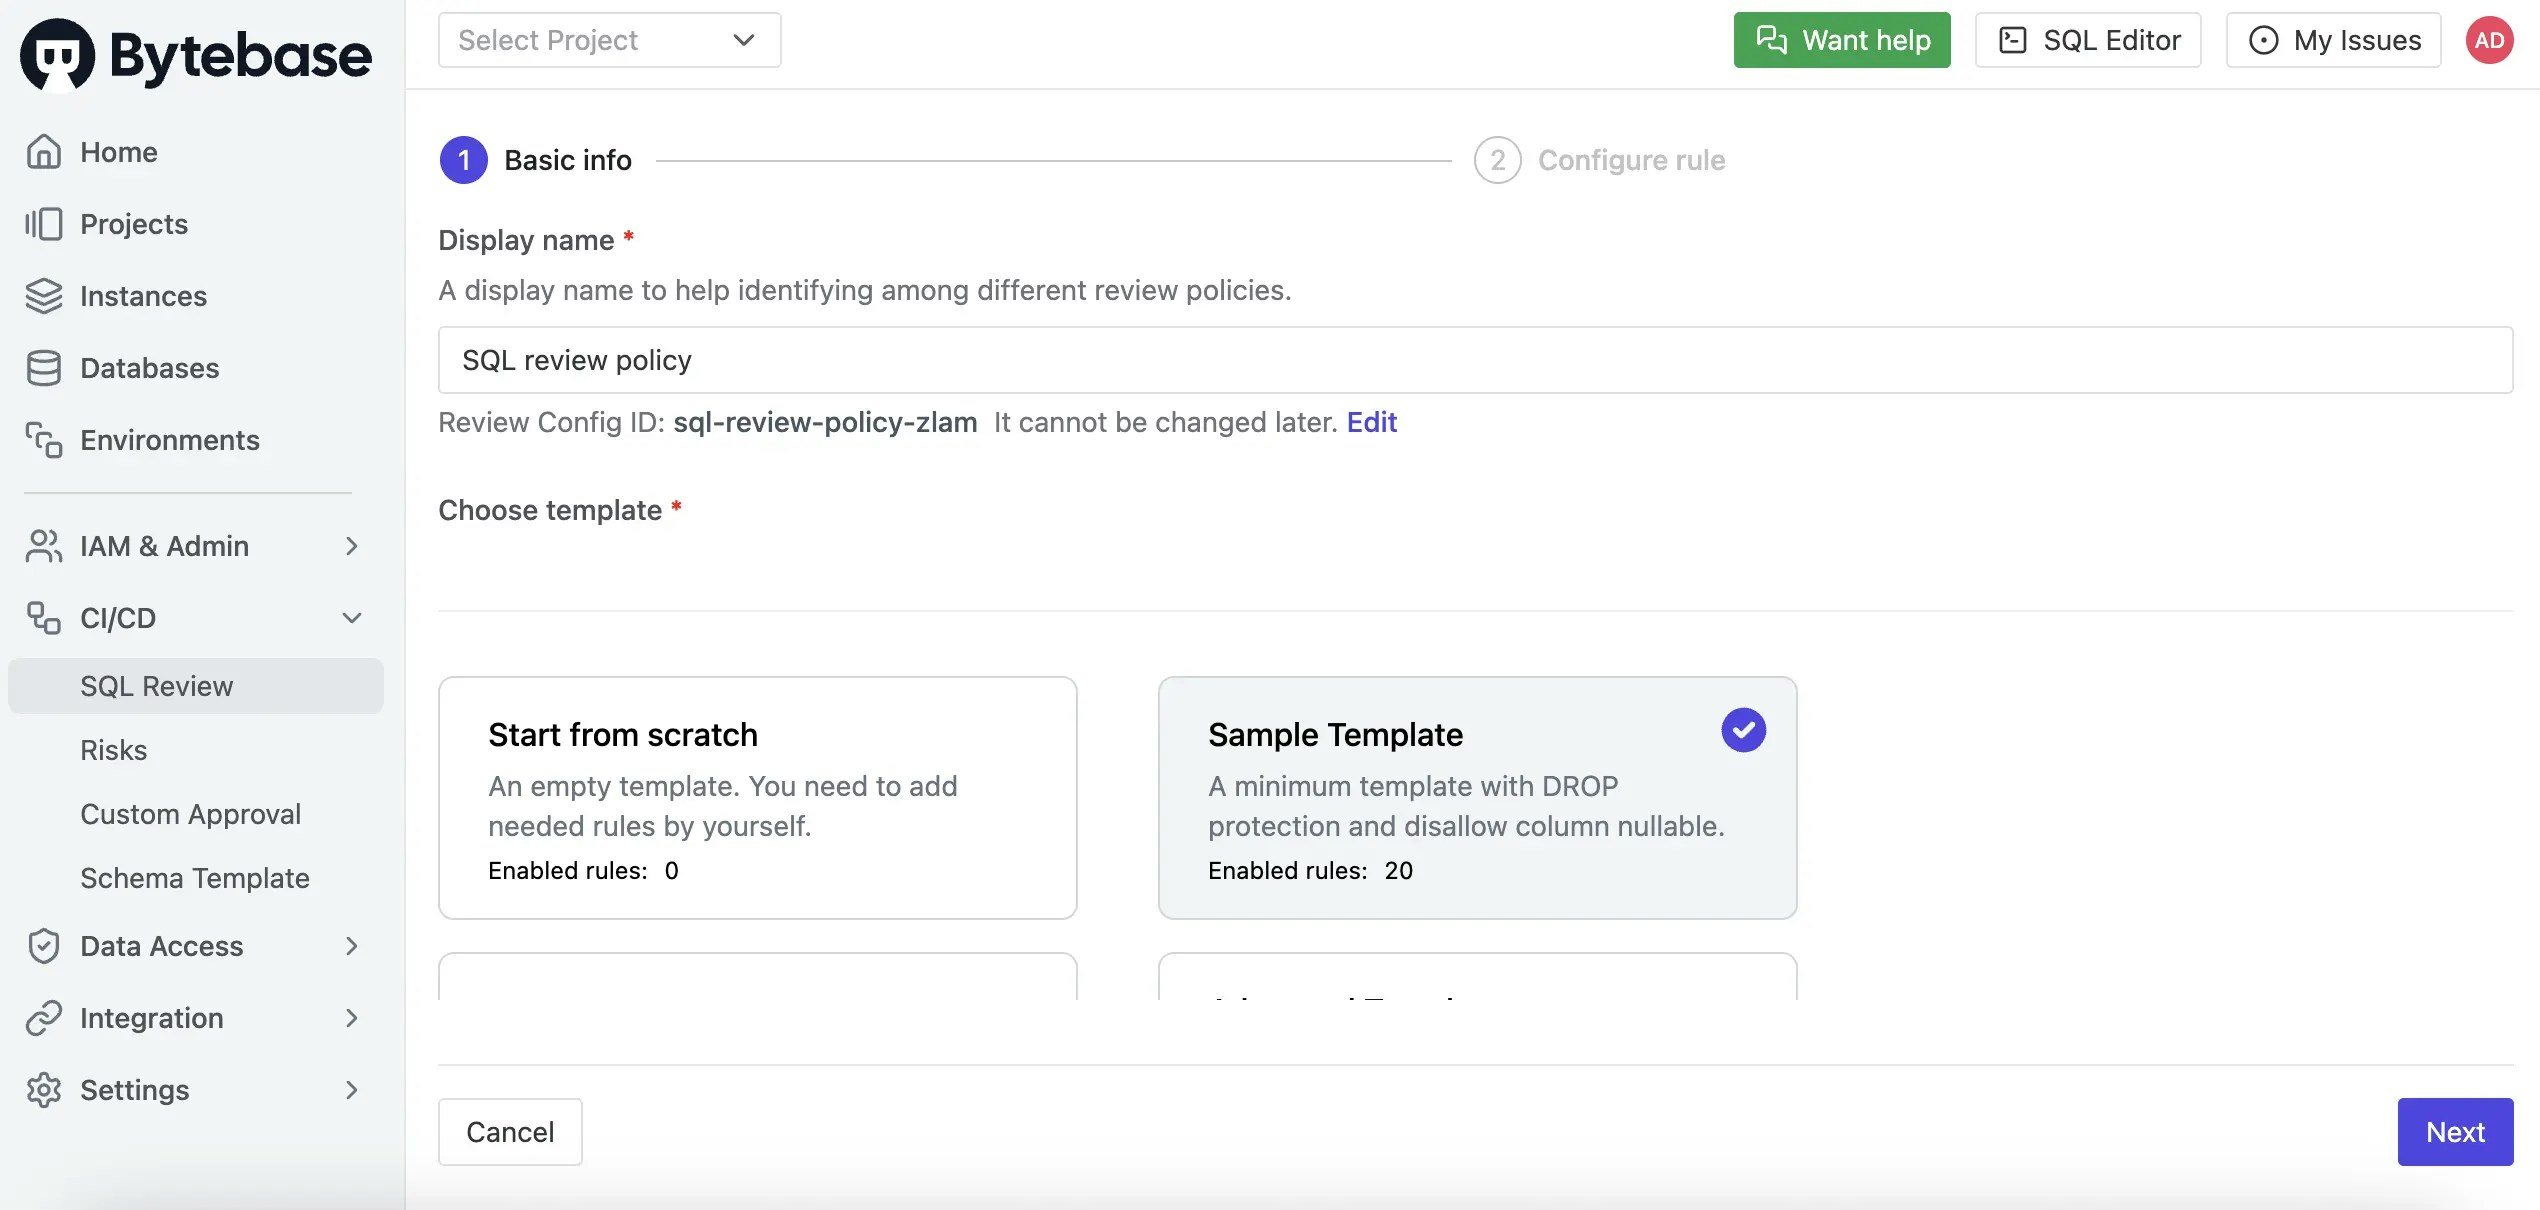
-
Click Confirm to add the SQL Review policy to the
Prodenvironment.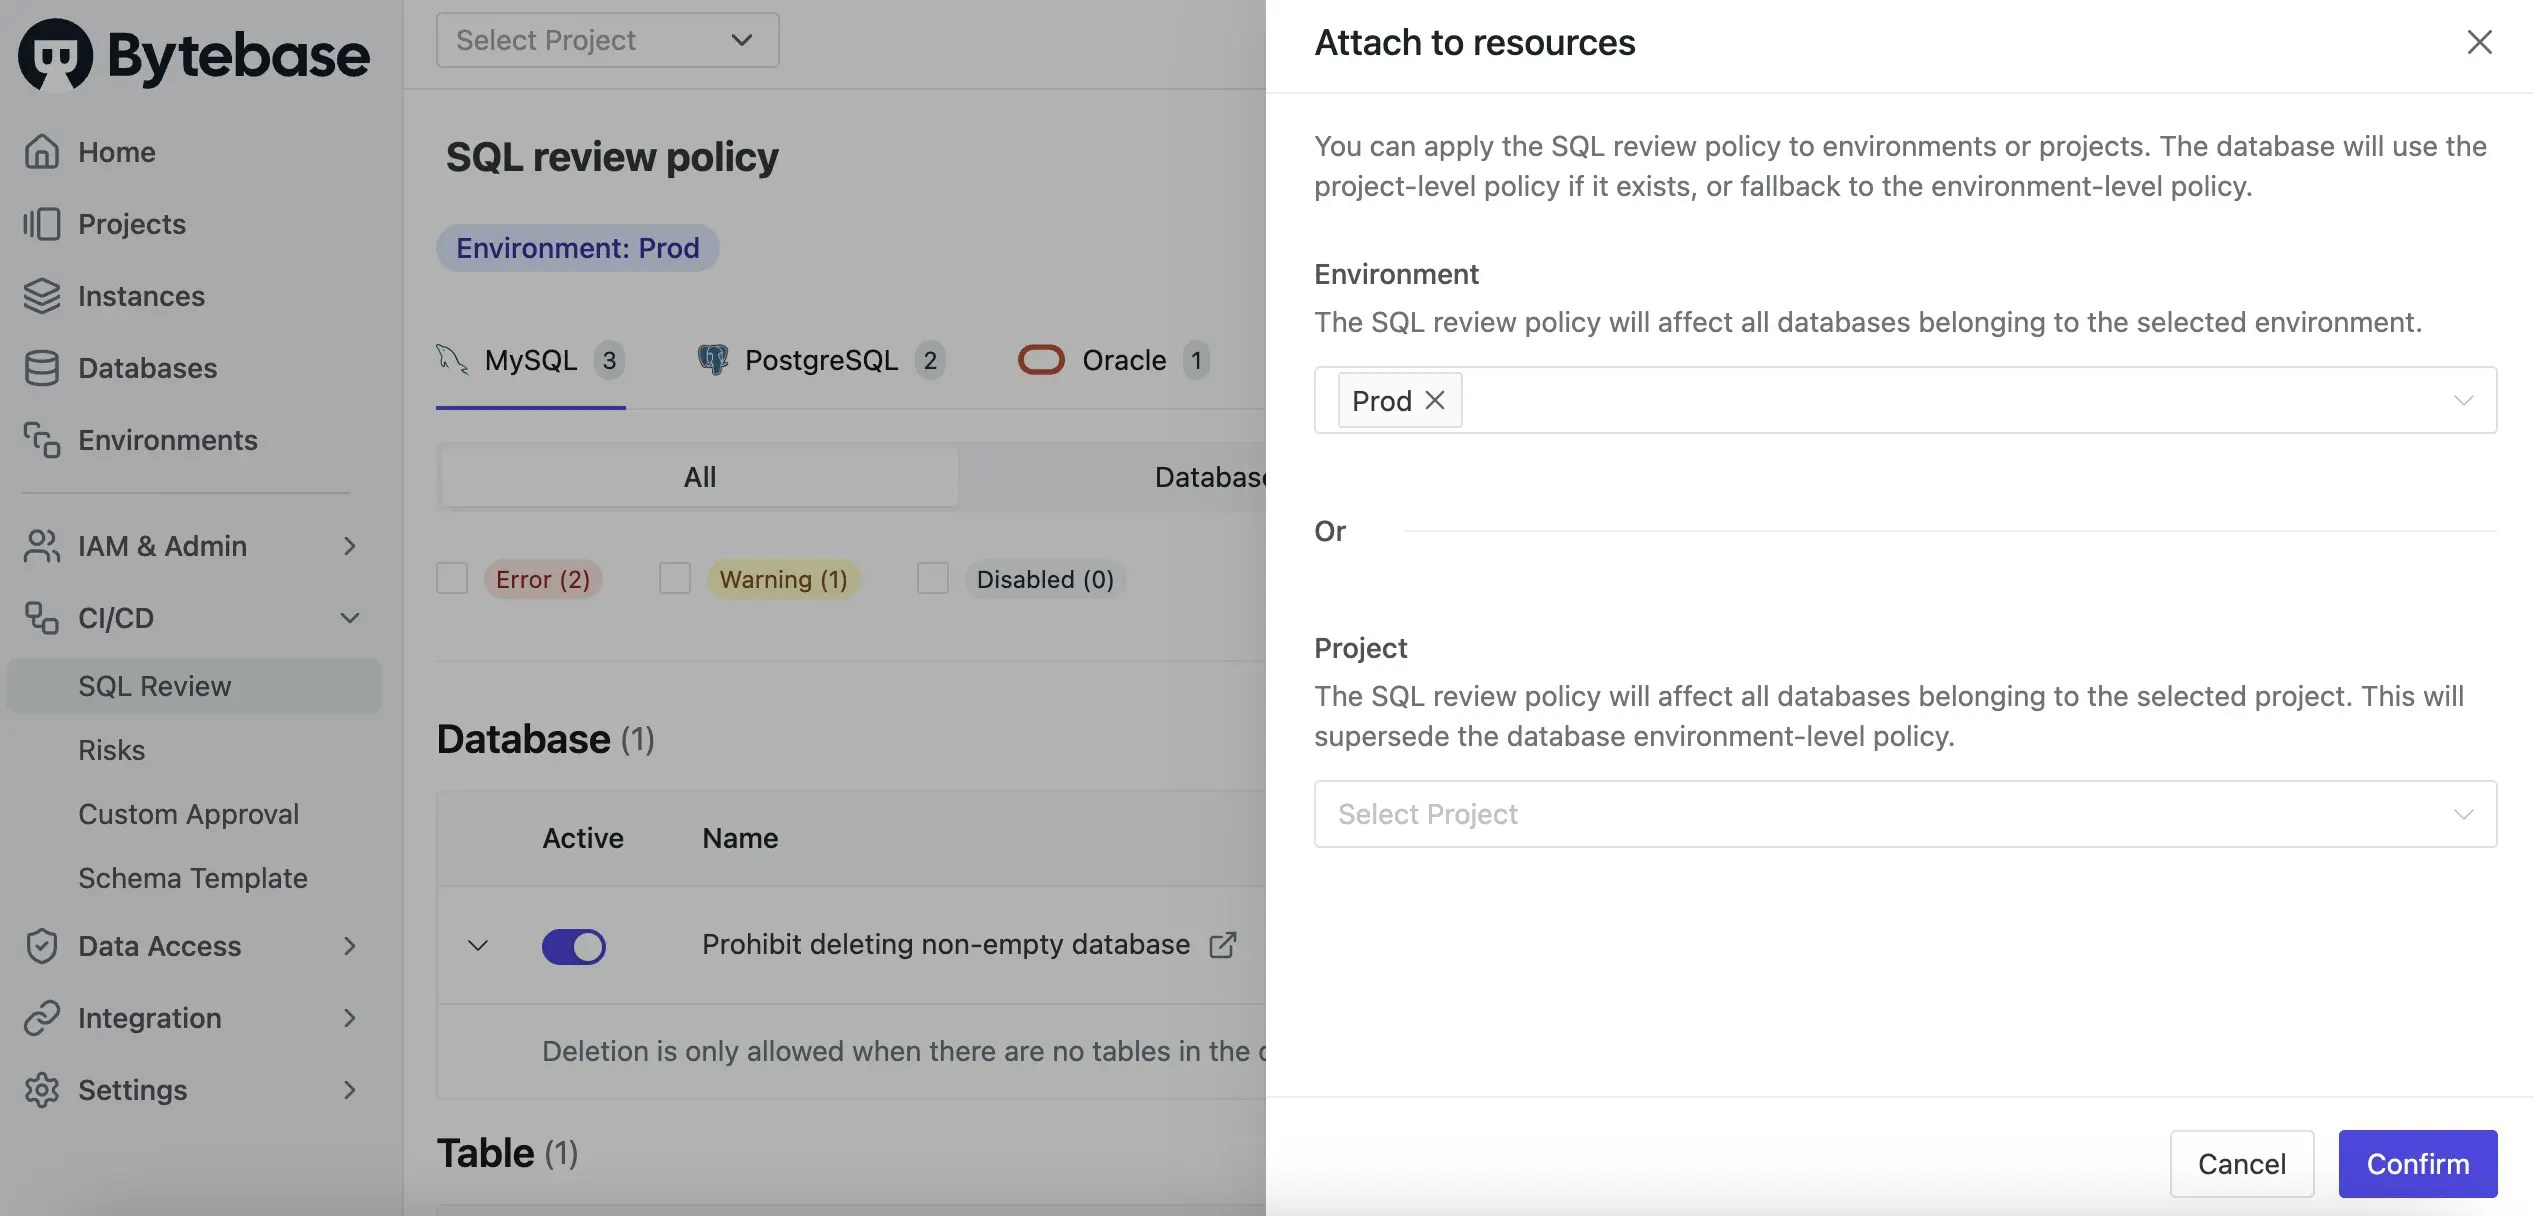
-
From the top-left project switcher, select
Sample Project. Under the CI/CD section, click Plans, then + New Plan. ChooseSchema Migration (DDL)and select thehr_proddatabase.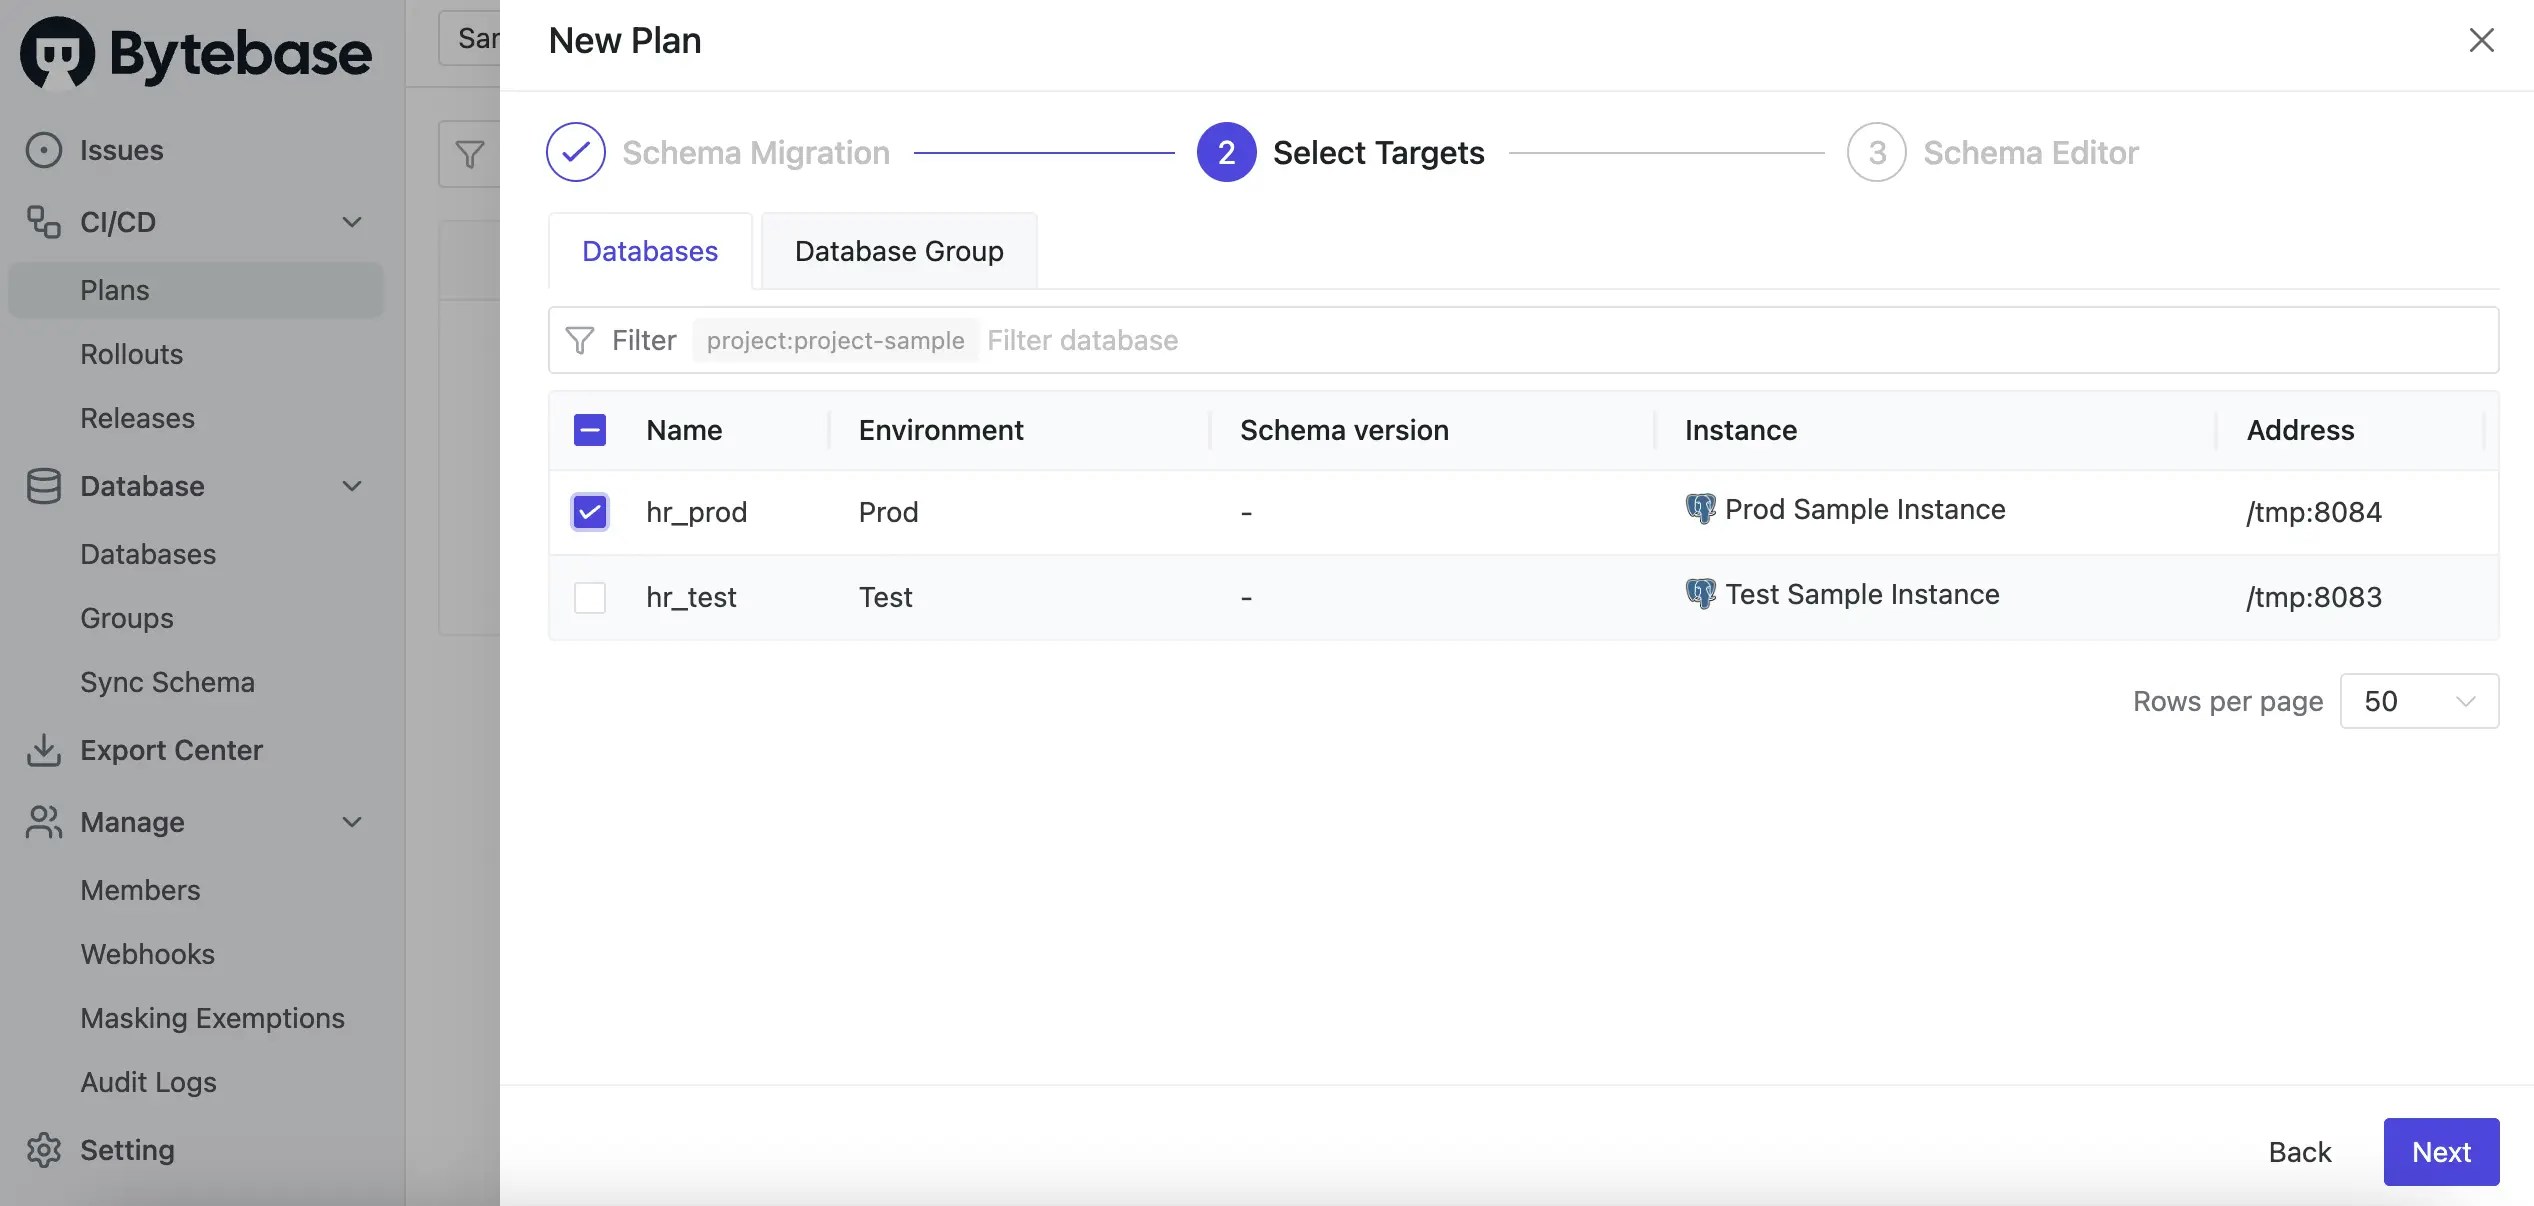
-
Using the Schema Editor, add a new column
nicknameto theemployeetable and click Confirm. -
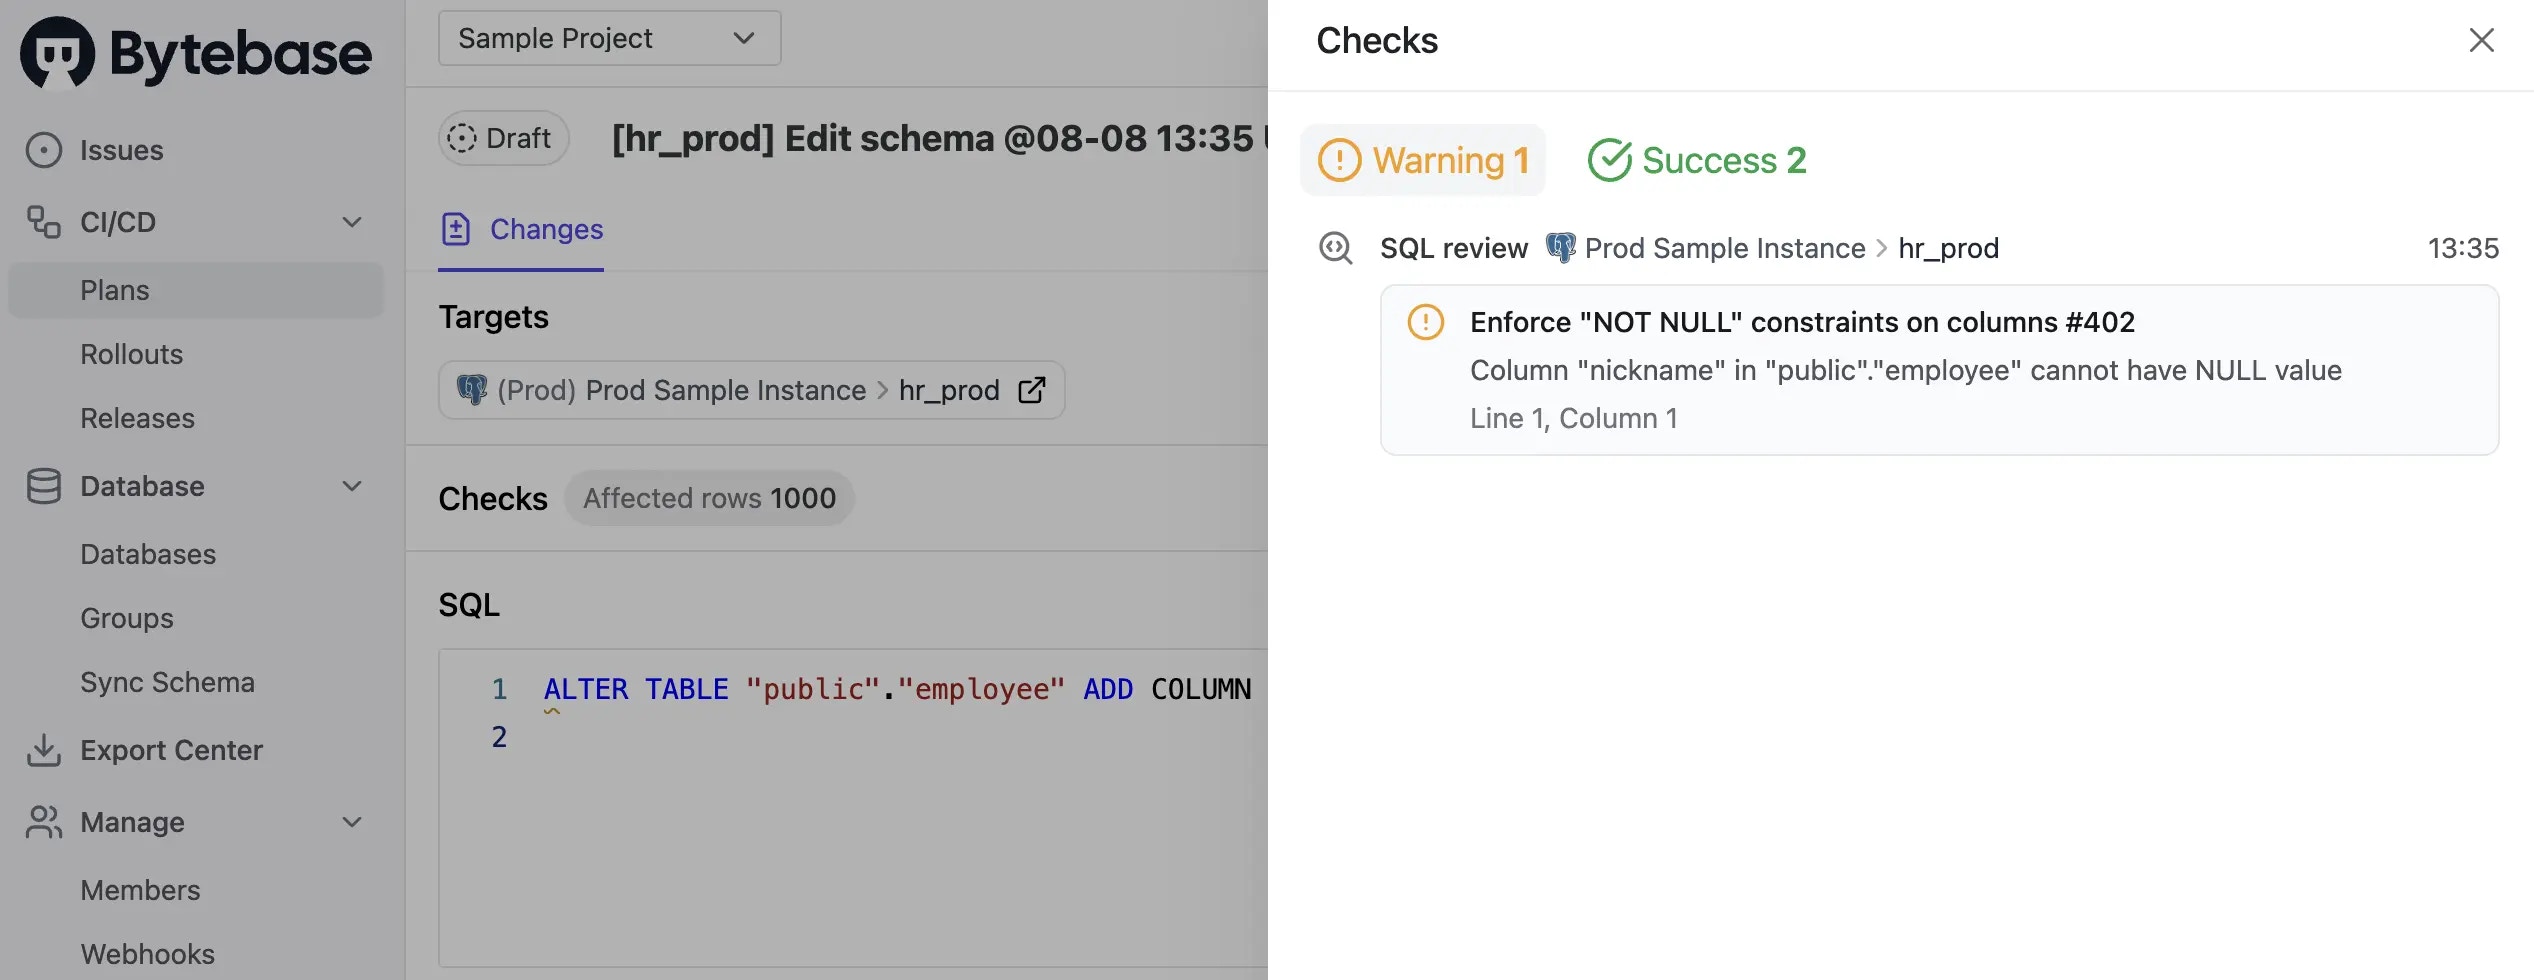
Intentionally violate the
NOT NULLrule. Click Create; SQL Review runs automatically and shows a warning for theProdtask.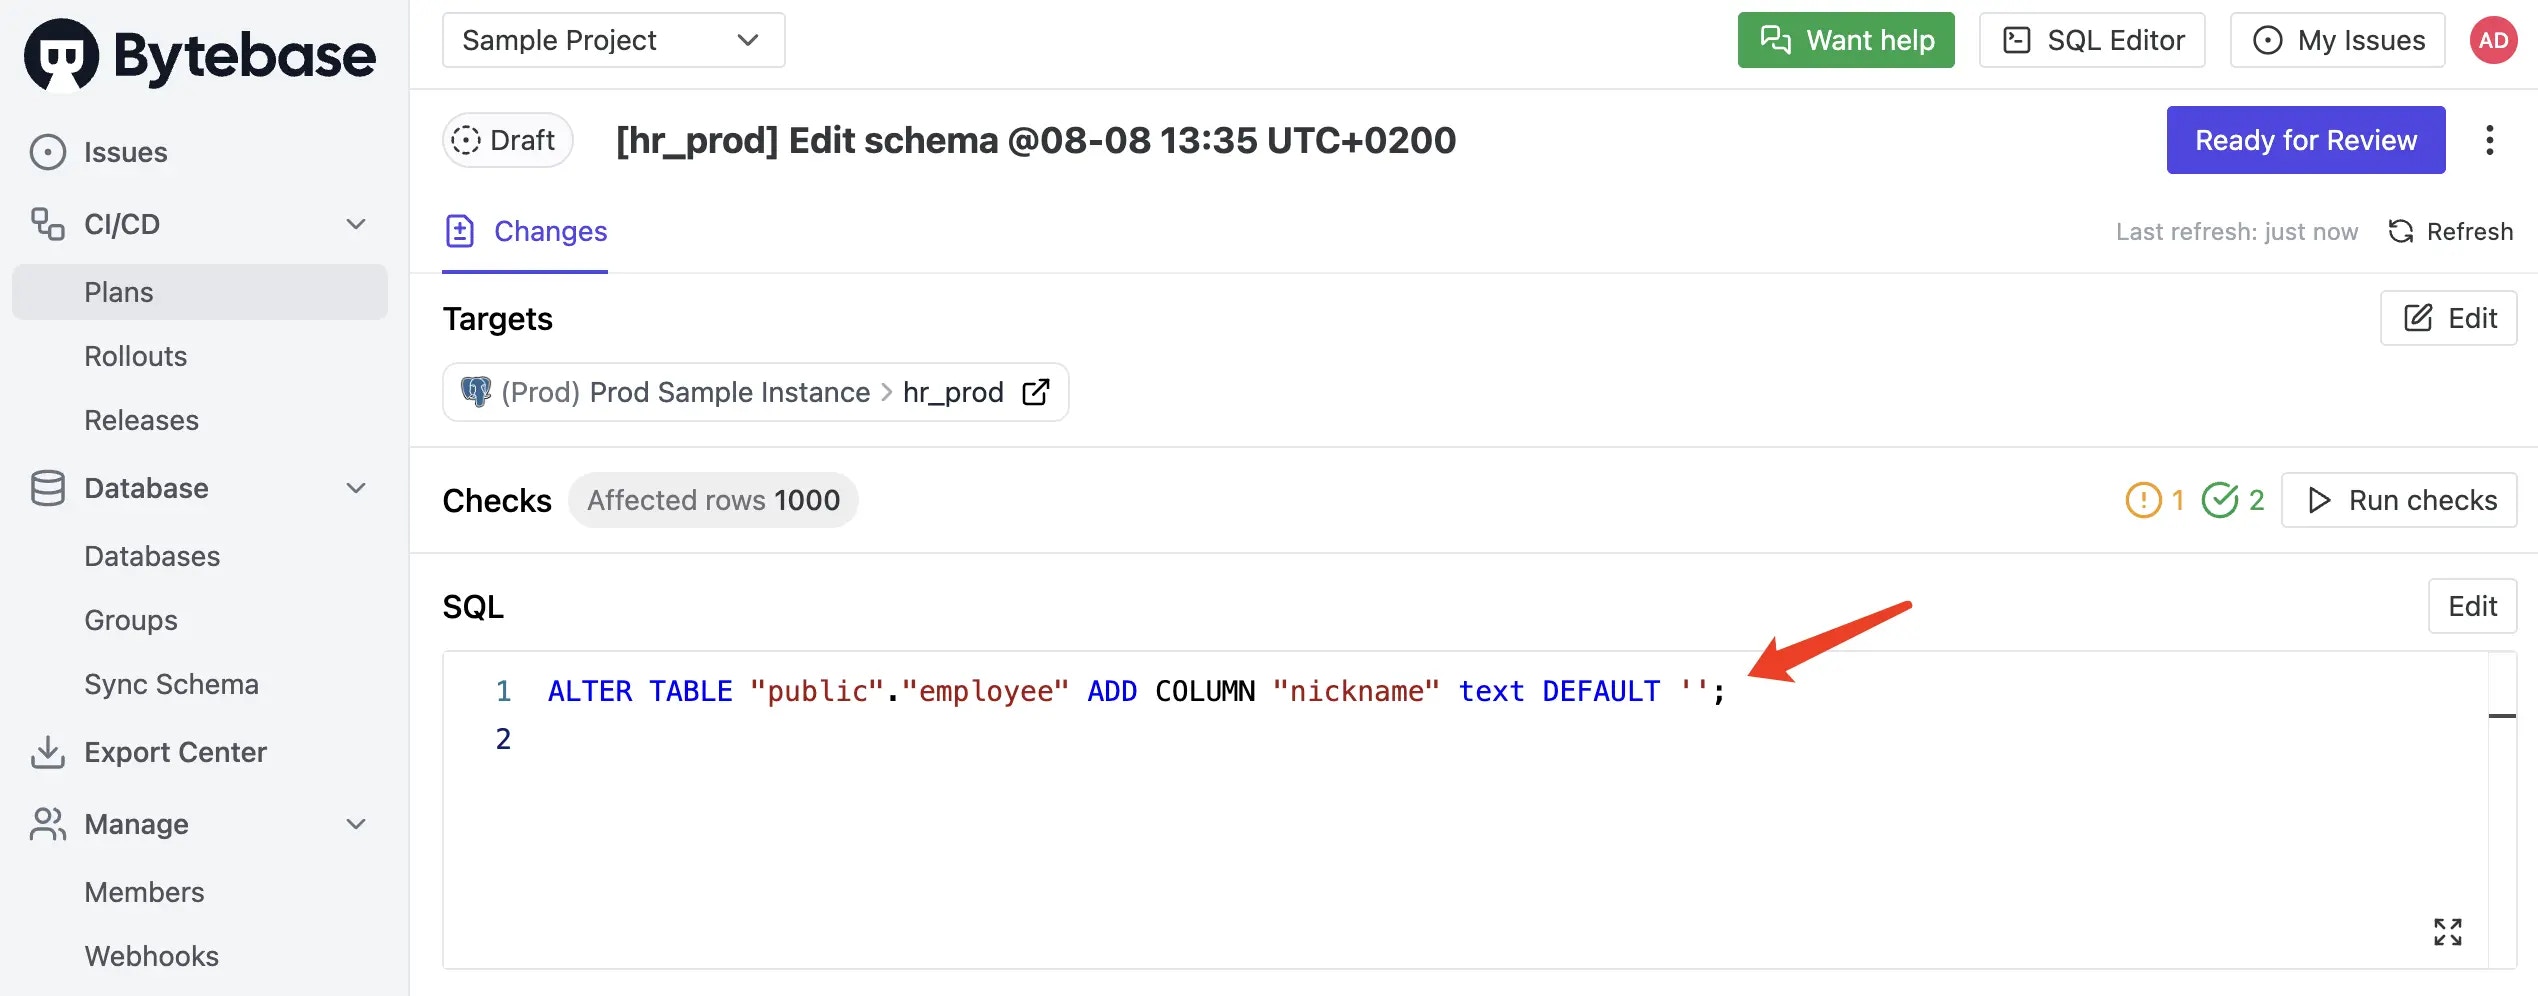
-
Click the warning to view details.
-
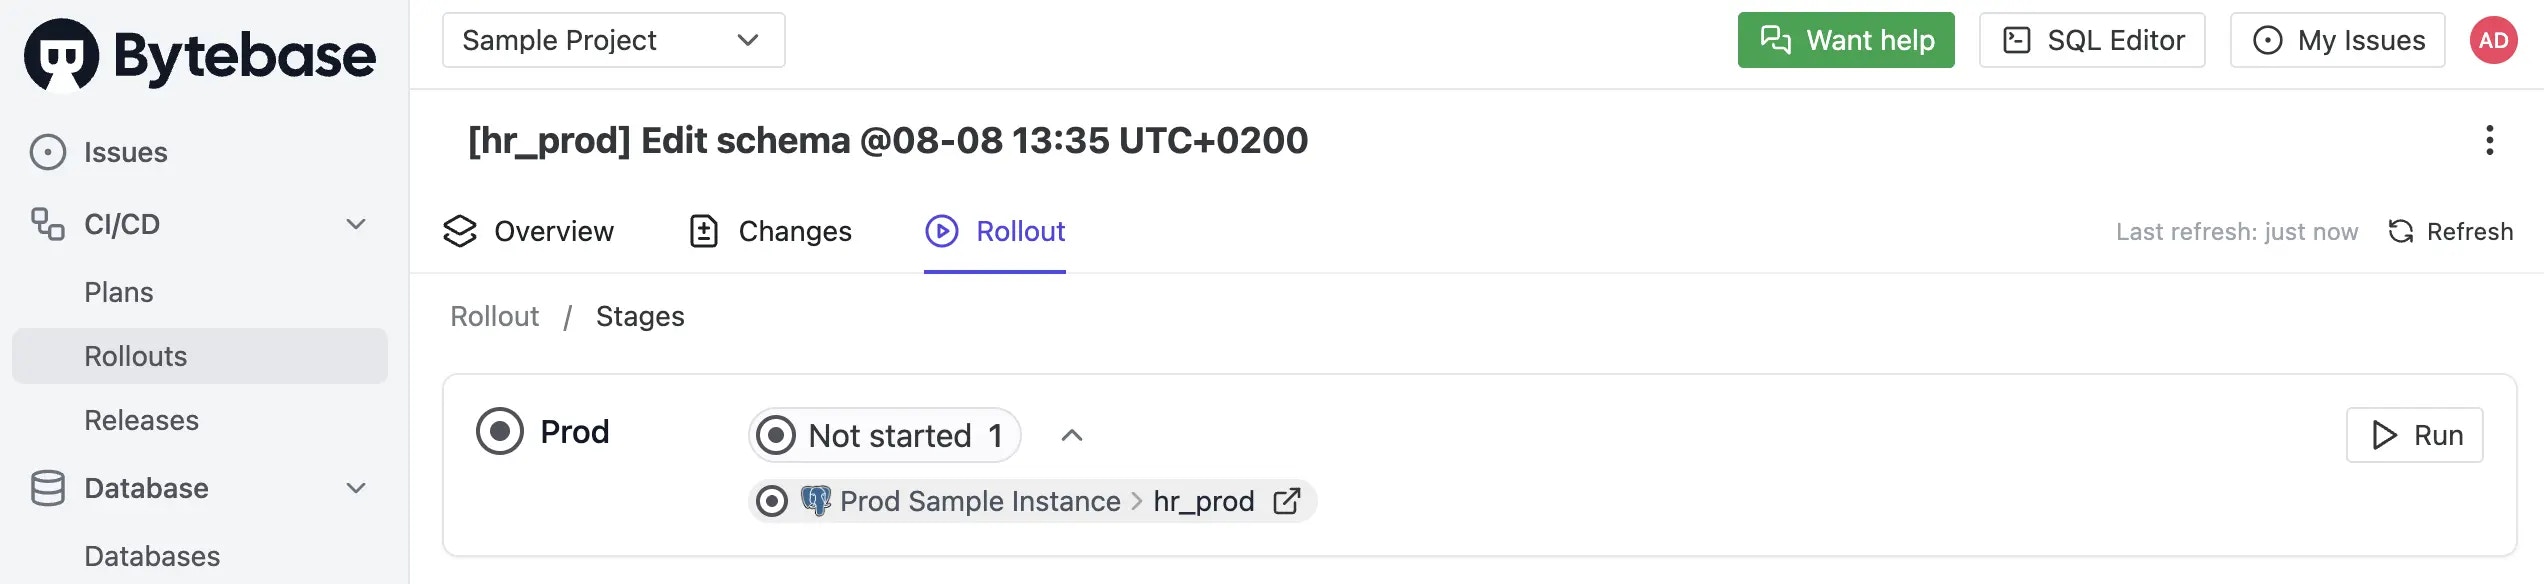
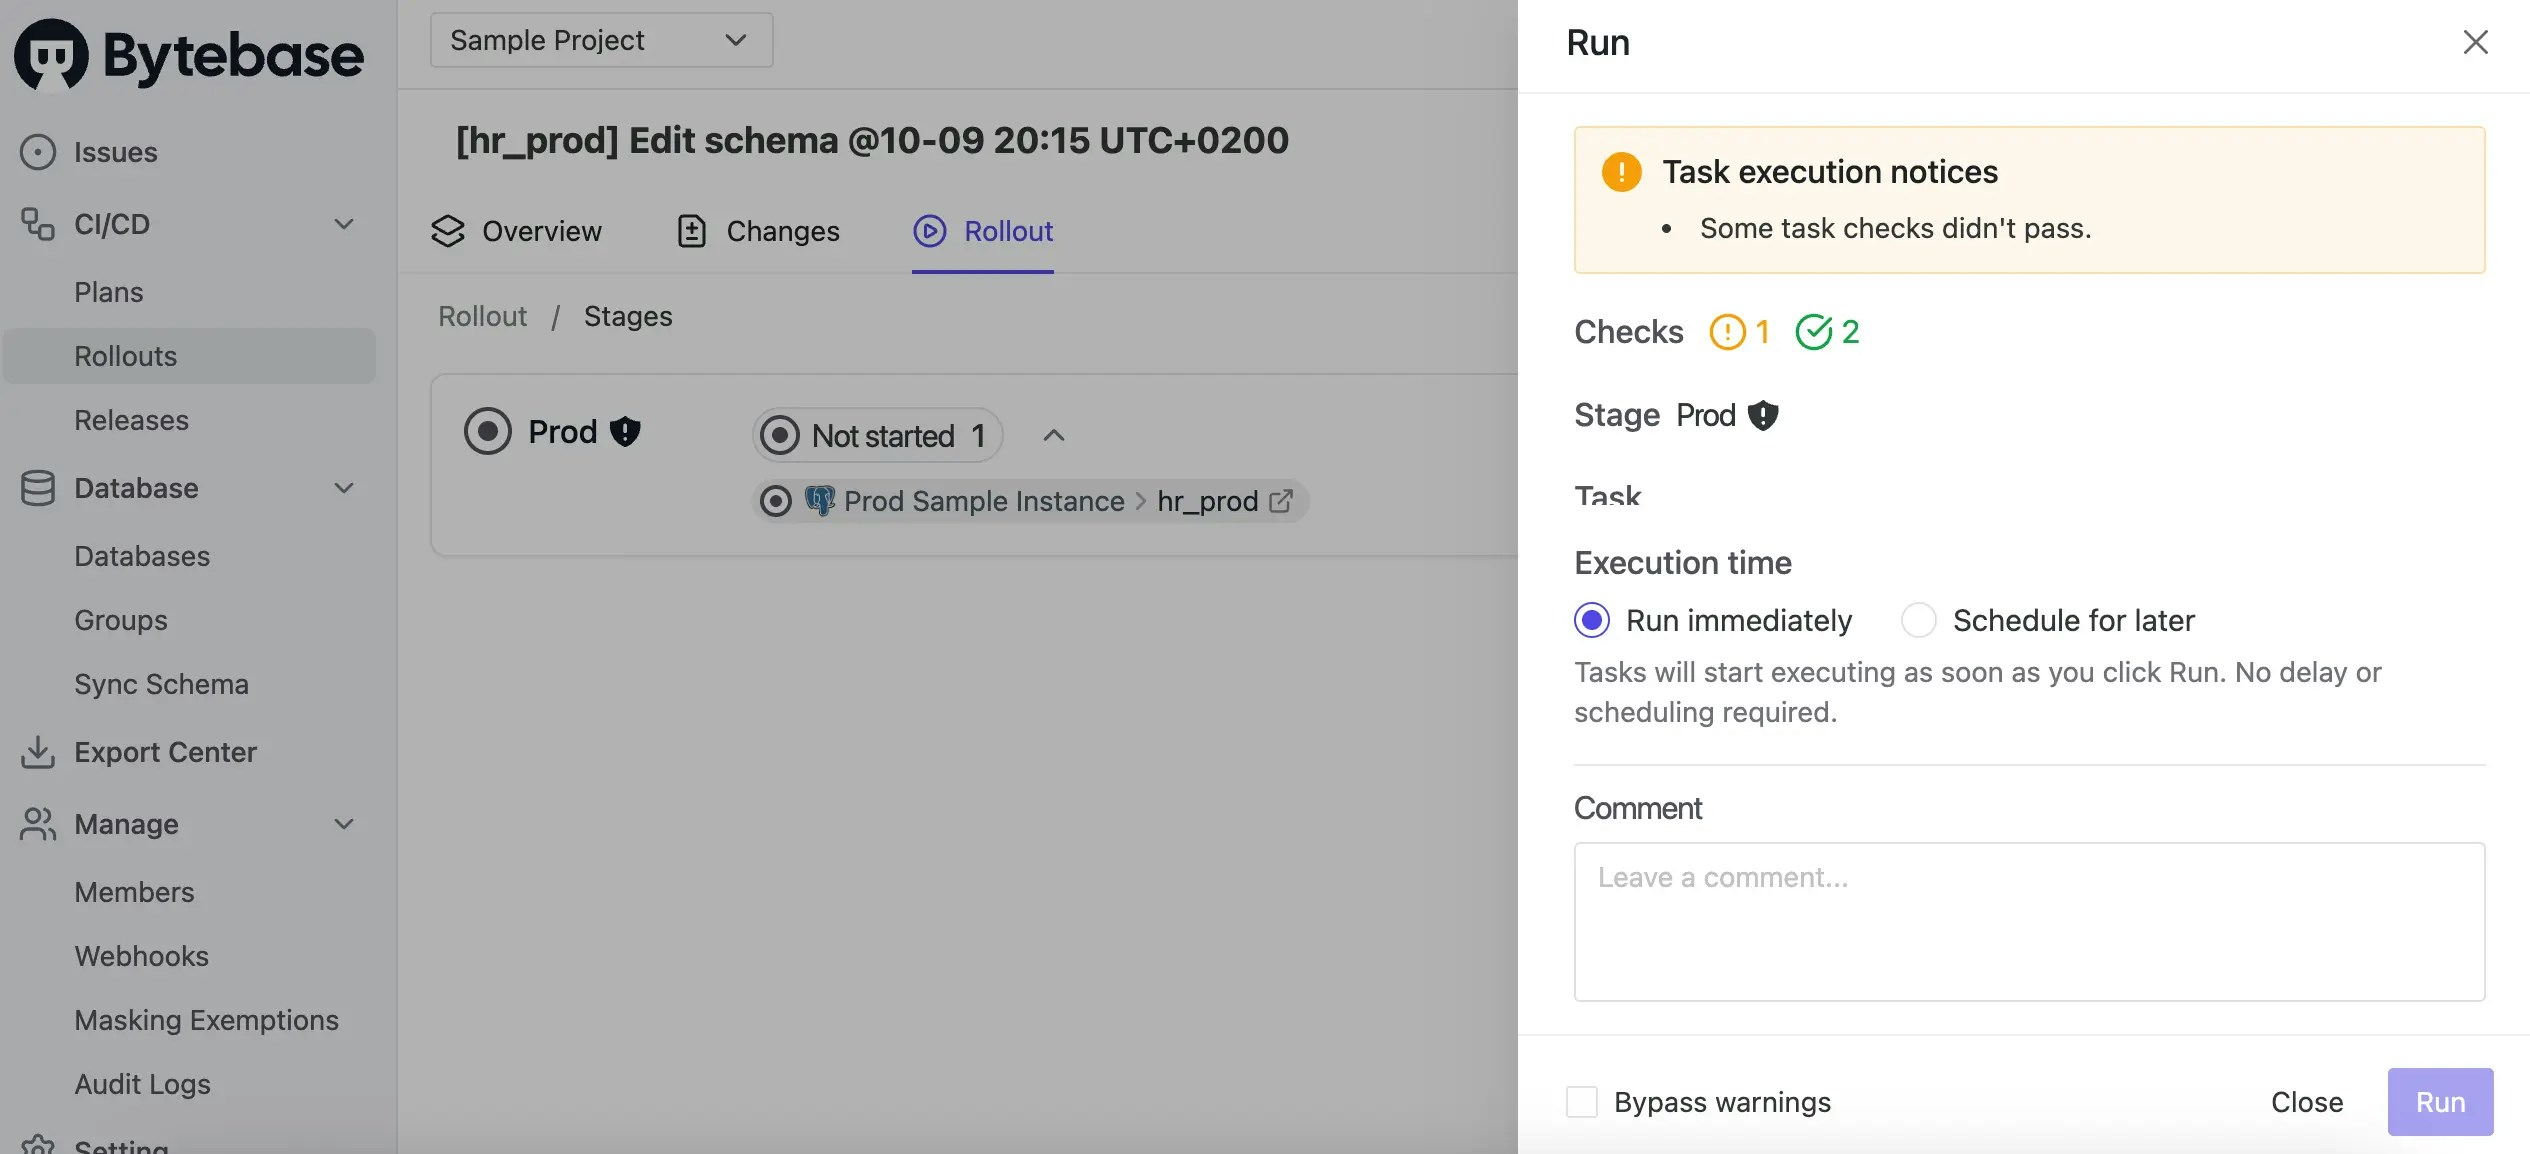
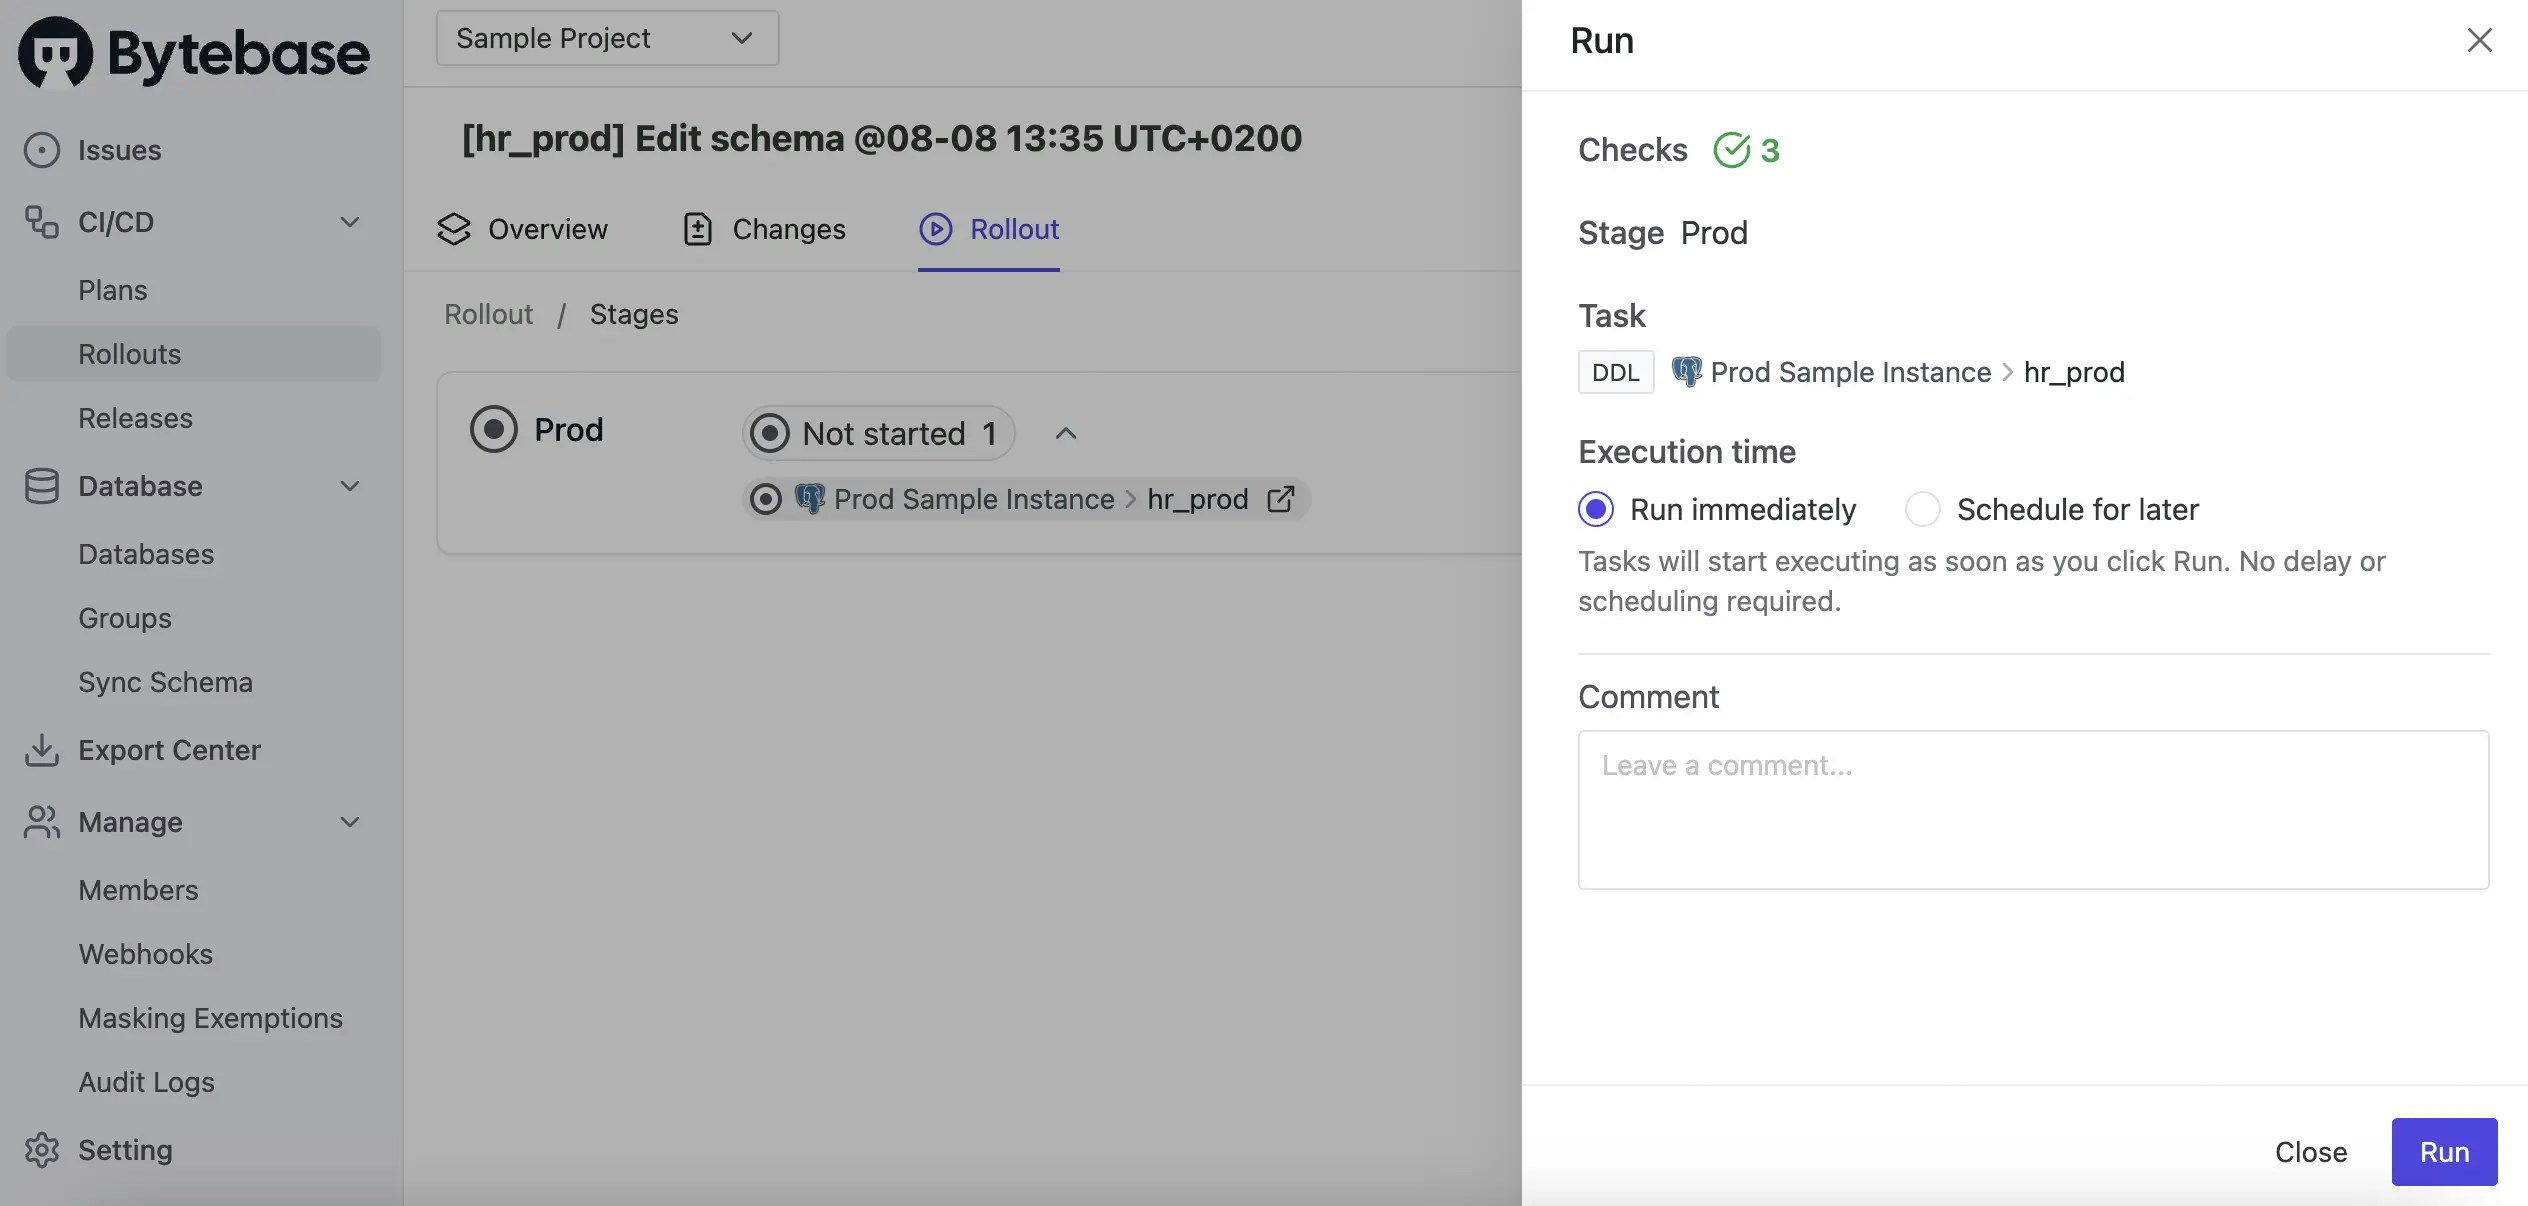
Go to the Rollout tab, click Run. You will see a warning that the SQL Review is not passed. However, you can bypass the SQL Review by checking Bypass to continue rollout.
-
Go back to the
Prodenvironment, and setPlan Check Enforcement>Strict Enforcementunder the Rollout Policy, then come back to the plan and refresh, you will see this time you can’t bypass the SQL Review.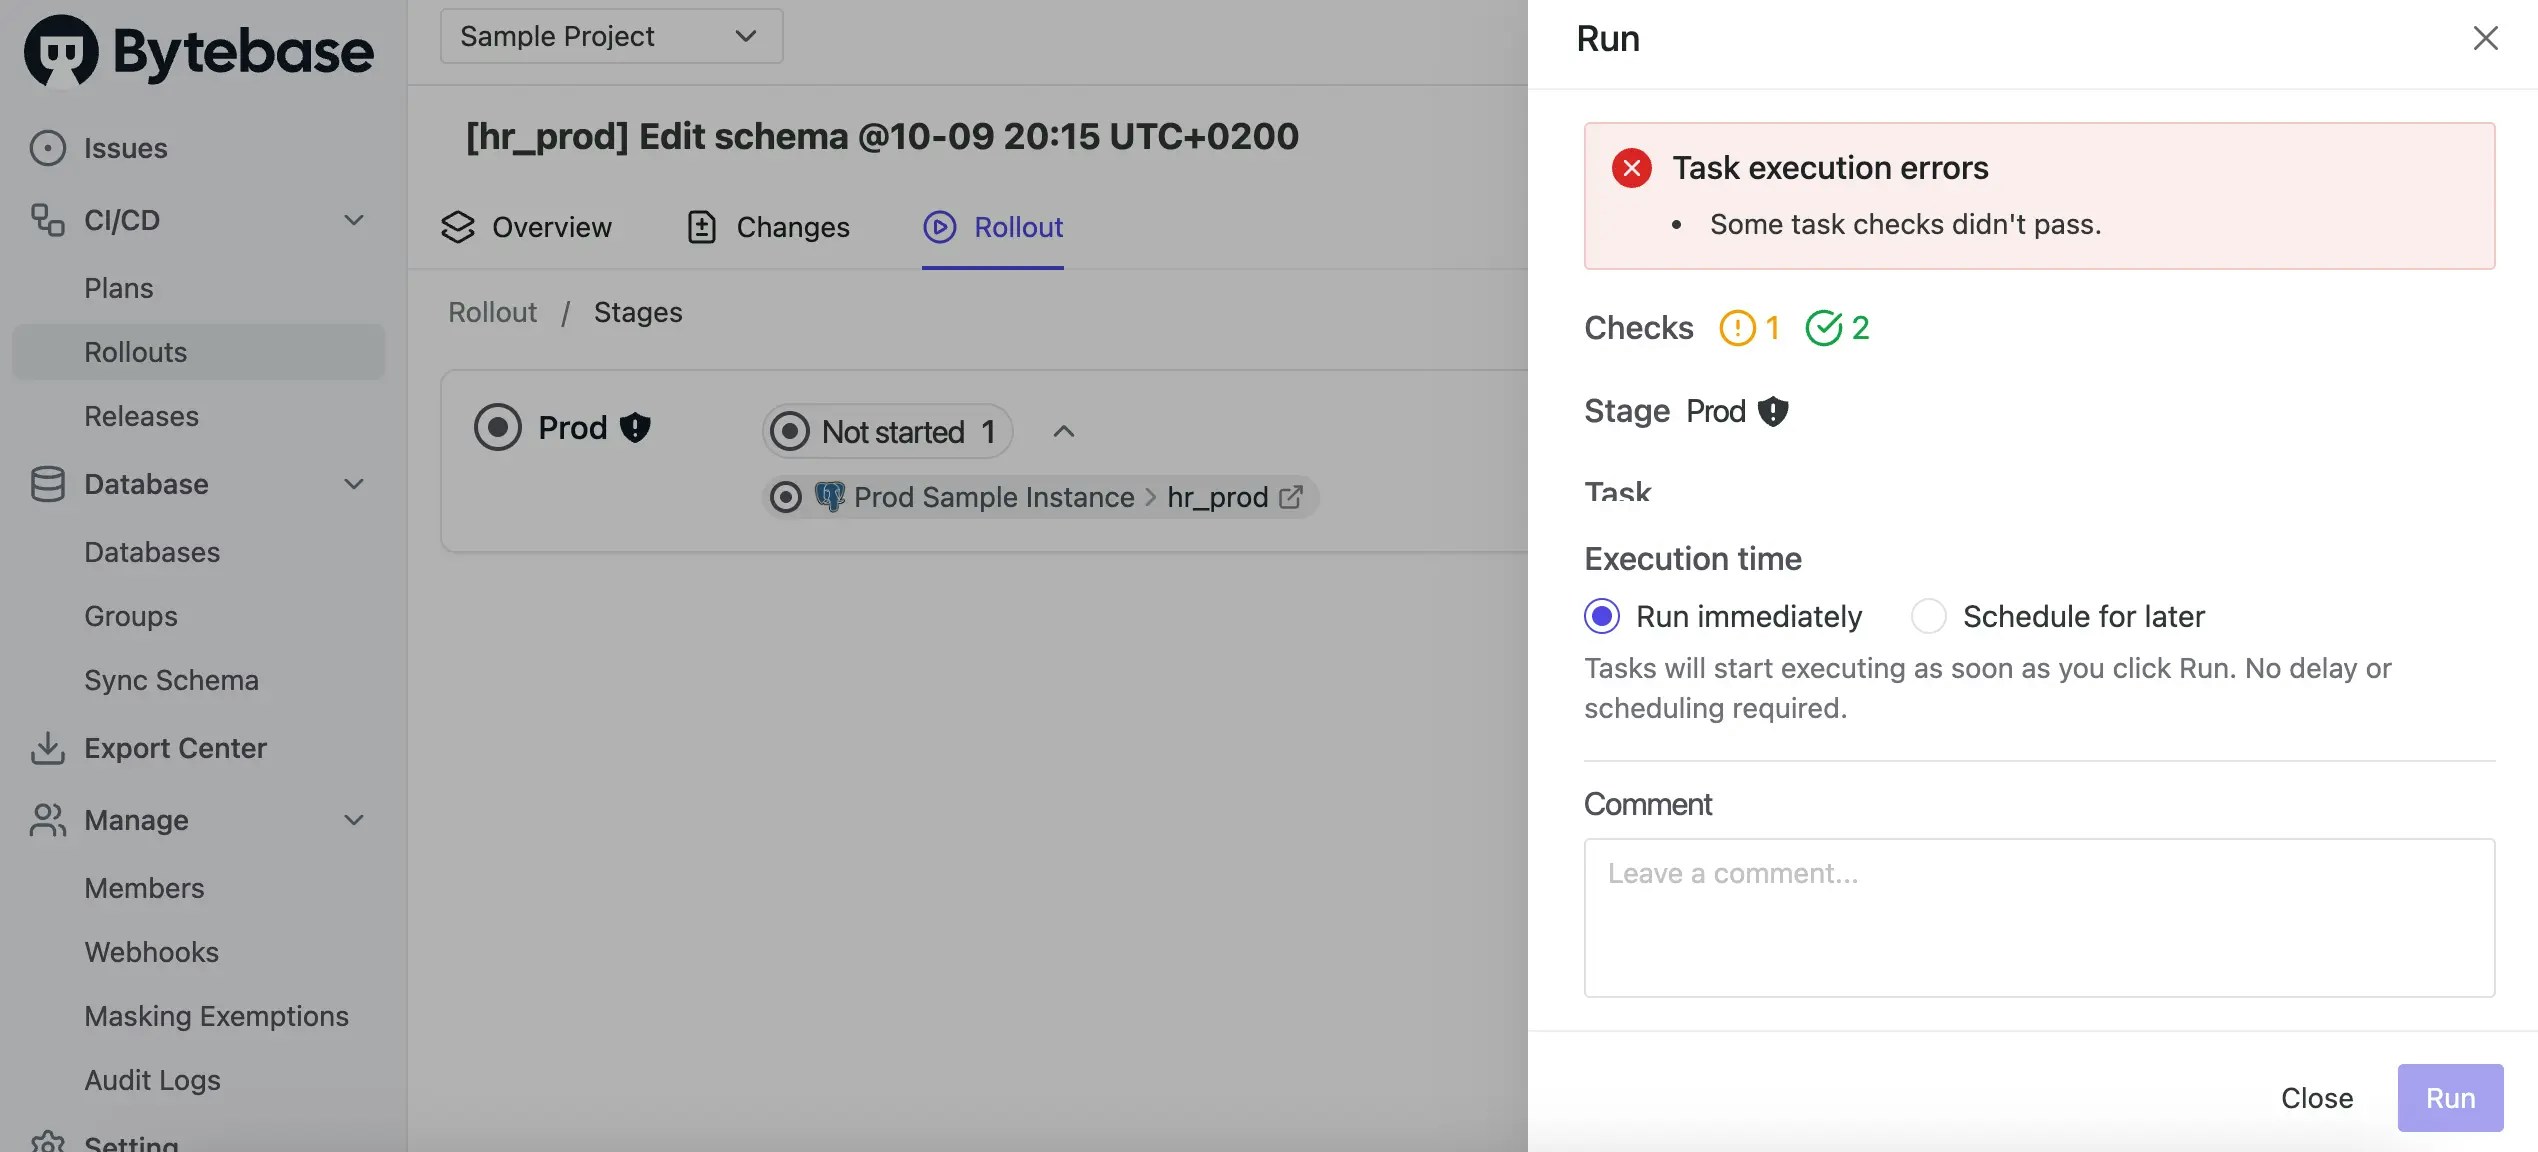
-
Fix the SQL by adding the
NOT NULLconstraint. Click Save to update the plan. SQL Review runs again and should pass. Click Ready for Review to submit the plan for approval. Because here we don’t have approval flow configured, the plan will be approved automatically.
-
The rollout is now ready, click Run again, this time you will see the SQL Review is passed.
-
After the rollout completes, the issue is marked as
Done.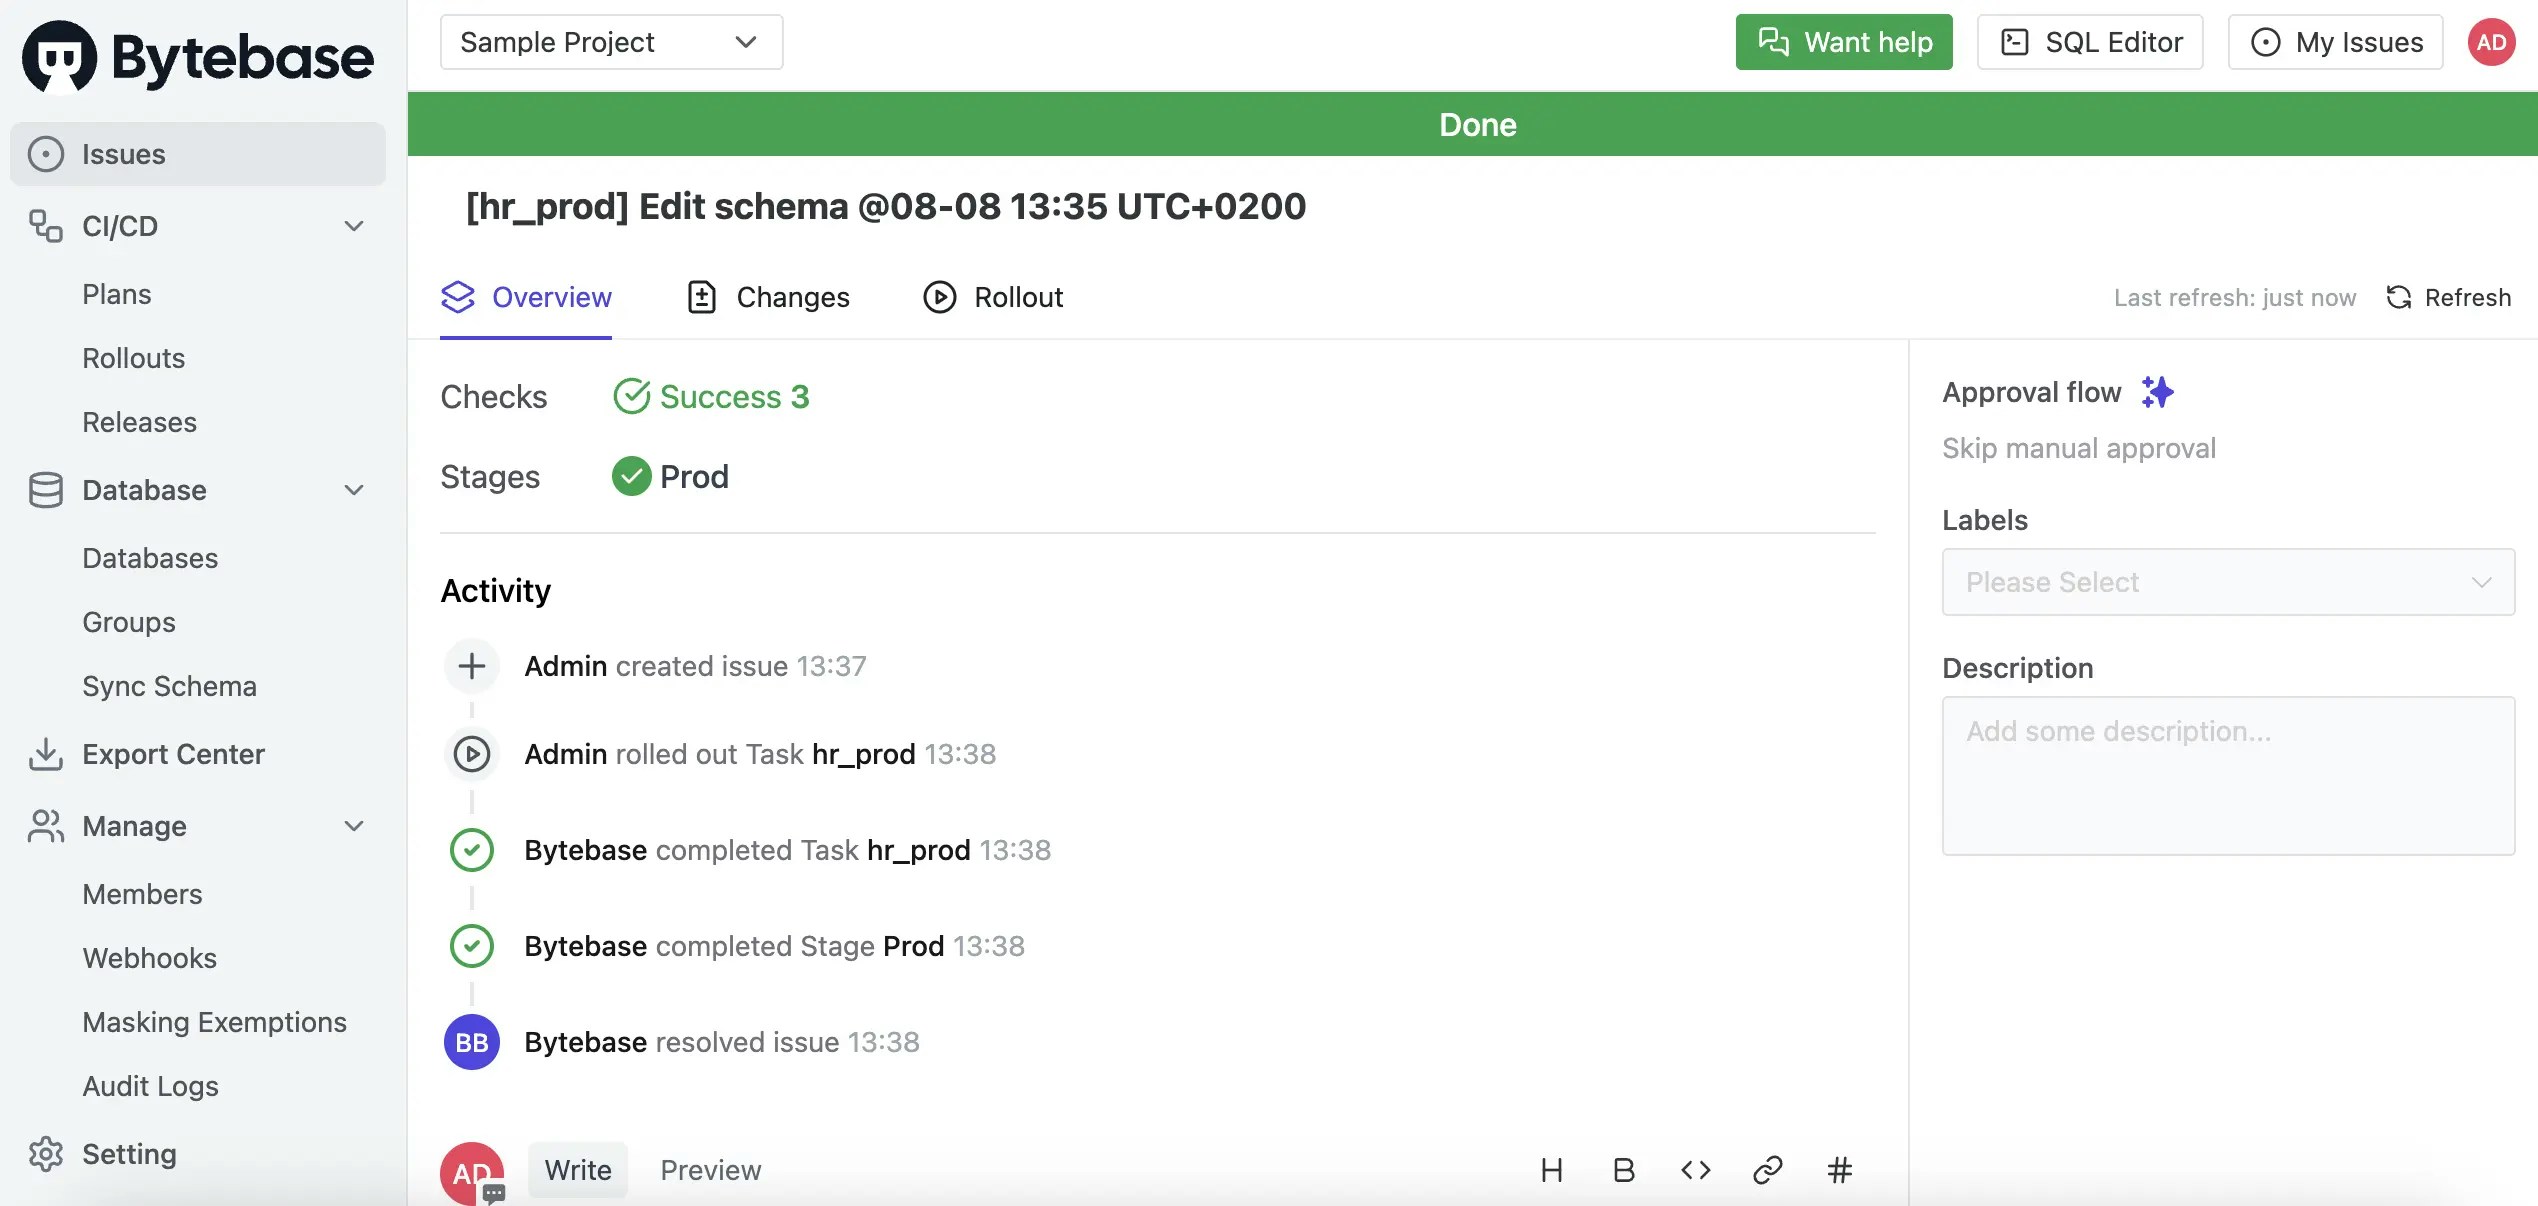
Level 3: Manual rollout with custom approval (Enterprise)
If you want the approval flow to be dynamic based on context, such as the type of SQL statements, follow this tutorial: Database Change with Custom Approval Flow.Summary
You have learned how to deploy schema migrations using Bytebase. Explore more advanced capabilities:- GitOps: Observe Git pushes and trigger schema migrations.
- Batch changes: Change multiple databases in a single workflow.