> ## Documentation Index
> Fetch the complete documentation index at: https://docs.bytebase.com/llms.txt
> Use this file to discover all available pages before exploring further.
# Step 2: Register Account
After deploying Bytebase successfully, you need to register accounts for your team members.
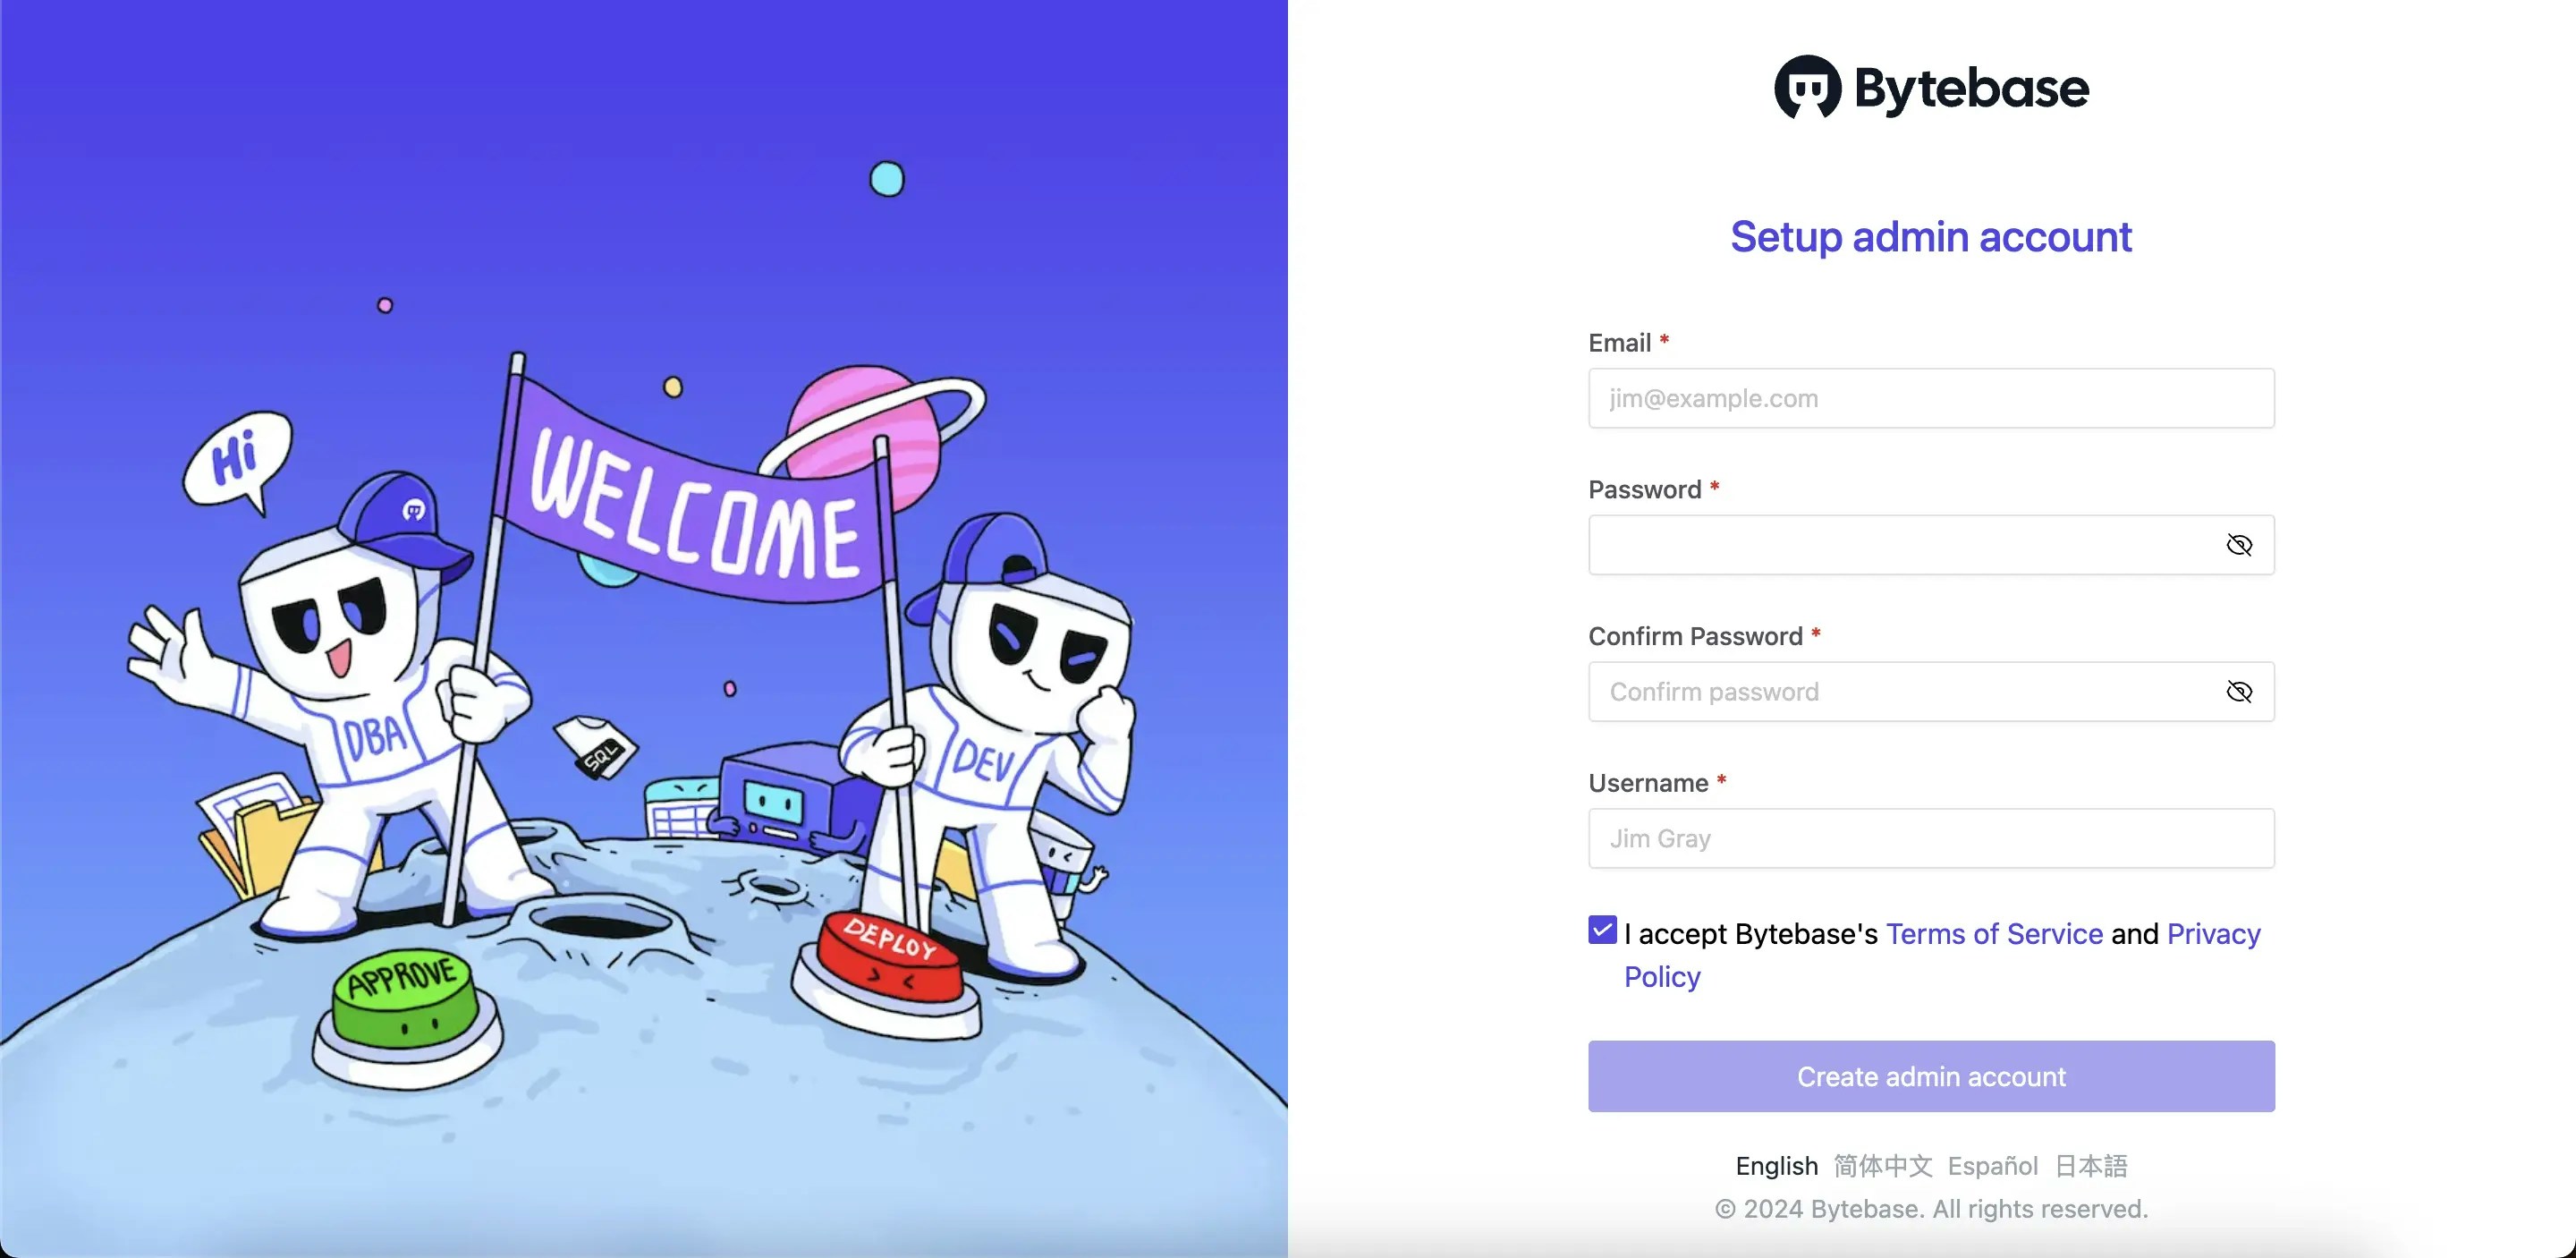
## Create the first admin account
The first registered account is the admin account and will be granted a **Workspace Admin** role.
All following registered accounts will be regular accounts.
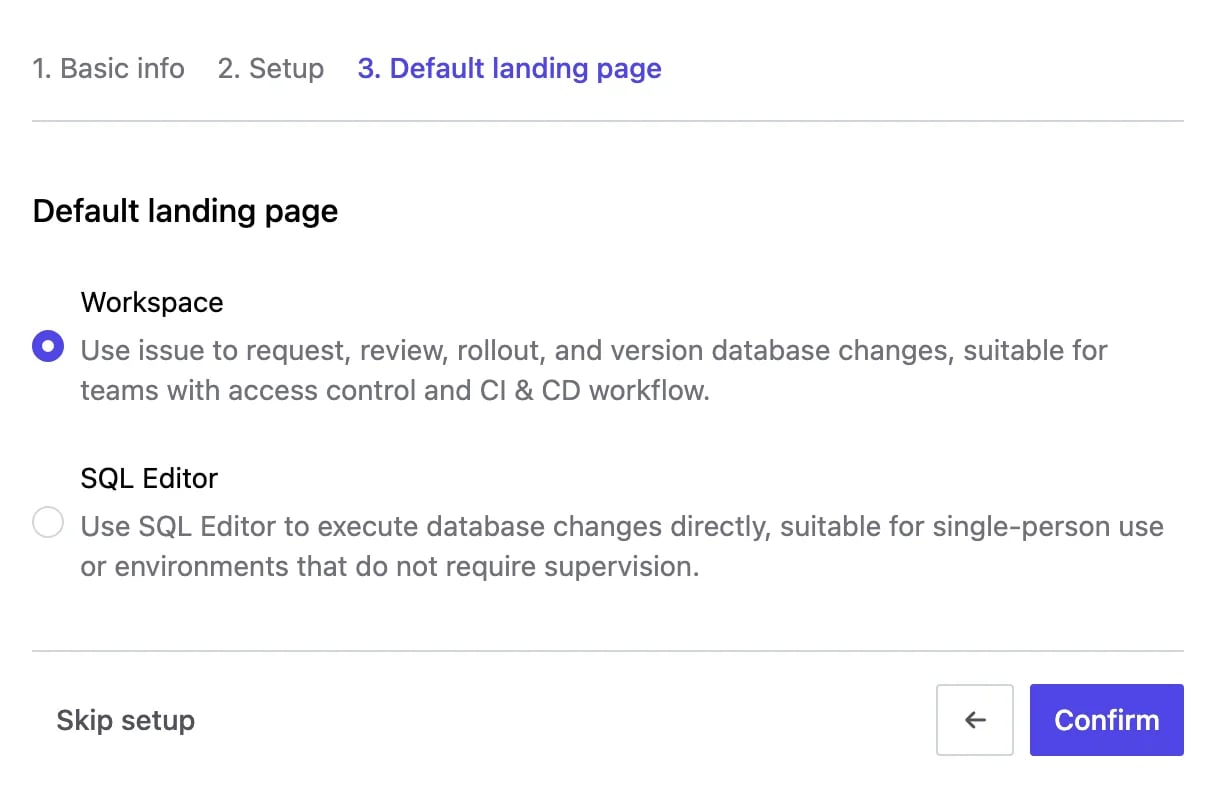
 After creating the admin account, Bytebase walks you through a short setup wizard — **Basic info**,
**Setup**, and **Default landing page**. In the final step, choose your **Default landing page** ([Database Change Mode](/administration/mode)):
pick **Workspace** or **SQL Editor**. Keep the default and you can always change it later.
After creating the admin account, Bytebase walks you through a short setup wizard — **Basic info**,
**Setup**, and **Default landing page**. In the final step, choose your **Default landing page** ([Database Change Mode](/administration/mode)):
pick **Workspace** or **SQL Editor**. Keep the default and you can always change it later.
 ## Manage users or members
Bytebase also supports [SSO](/administration/sso/overview) and [SCIM (Directory Sync)](/administration/scim/overview).
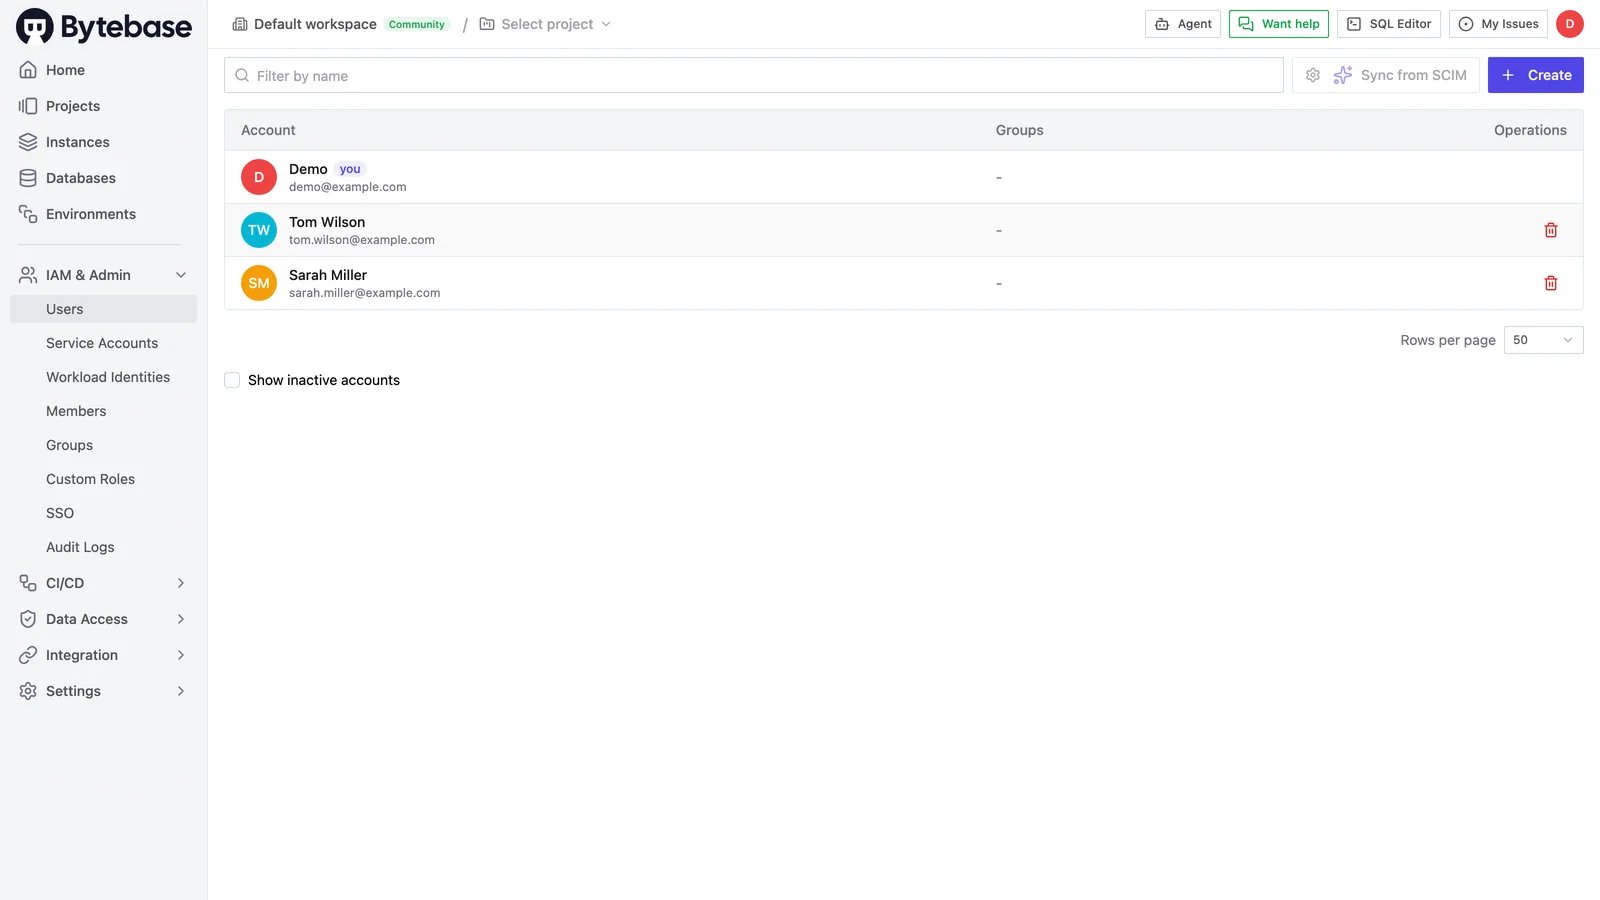
As a **Workspace Admin**, you can manage all users under **IAM & Admin** > **Users**. Click **Create** on the upper-right to add a user, or click a user row to update their information like email. Groups are managed under **IAM & Admin** > **Groups**.
## Manage users or members
Bytebase also supports [SSO](/administration/sso/overview) and [SCIM (Directory Sync)](/administration/scim/overview).
As a **Workspace Admin**, you can manage all users under **IAM & Admin** > **Users**. Click **Create** on the upper-right to add a user, or click a user row to update their information like email. Groups are managed under **IAM & Admin** > **Groups**.